Whether you are streaming live or recording sessions for later, an efficient audio workflow is essential for your production. Below, we’ll guide you through setting up and managing an efficient audio workflow with YoloLiv products for optimal results.
Get Started: Introduction
For starters, you’ll need to be aware of a concept called ‘Unity Gain.’ Primarily used in a live-streaming environment with a product such as YoloBox Pro or YoloBox Ultra, Unity Gain ensures all your audio devices in your signal chain are working in harmony. This will help you avoid frustrations with improper audio, offering a solid starting point for those not yet fully experienced with this setup.
The Initial Setup: Starting at the Source – The Mic
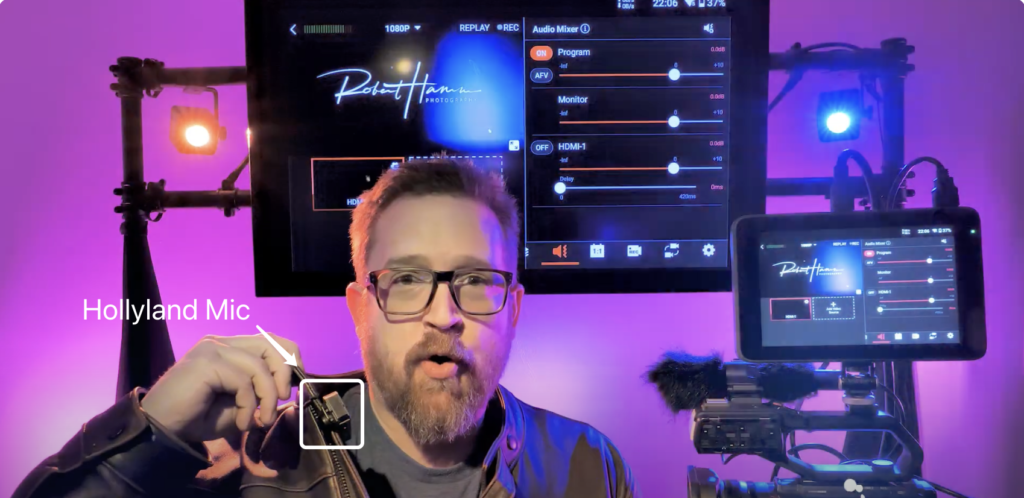
The process begins with your capture device – the microphone. The audio signal begins its journey here. Robert uses a Hollyland Lark wireless microphone during this demonstration, but do note that the decision begins with your microphone selection. This choice is the first in a series of decisions that will determine the direction your audio takes. From its capture (input) to its eventual projection (output) on the screen, the audio follows a path that should be as clean and clear as possible.

Level Adjustment: Determine the Right Gain
Gain adjustment plays a critical role in this setup. When Rob matches his microphone signal to the camcorder, he sets his camcorder to record at -12db on the left channel and -6db to -8db on the right channel. This provides a “safety track” to ensure audio consistency during louder or quieter moments. This tactic is exceptionally useful in providing a level of security during live broadcasts, but it’s also a valuable tool for traditional recording.
Expanding the Audio Source: Utilizing External Devices
There are instances where one microphone isn’t enough, and external devices such as camcorders and cameras come into play. These devices can accept additional audio input through XLR or mic jacks. The input can come from either internal or external microphones, depending on the situation or your personal preference.
Using both internal and external audio sources can greatly enhance your flexibility and control. For instance, splitting the audio into different channels with separate microphones can provide the ability to control ambient and local sound separately.
Setting the Levels: From Source to Streaming Device
Once you have chosen your audio source and determined your microphone gain, it’s time to send this audio over to your streaming device, such as the YoloBox Pro or Ultra. You need to adjust the input level of your streaming device to correspond to the output level of your camcorder.

How to Read the Audio Level Display
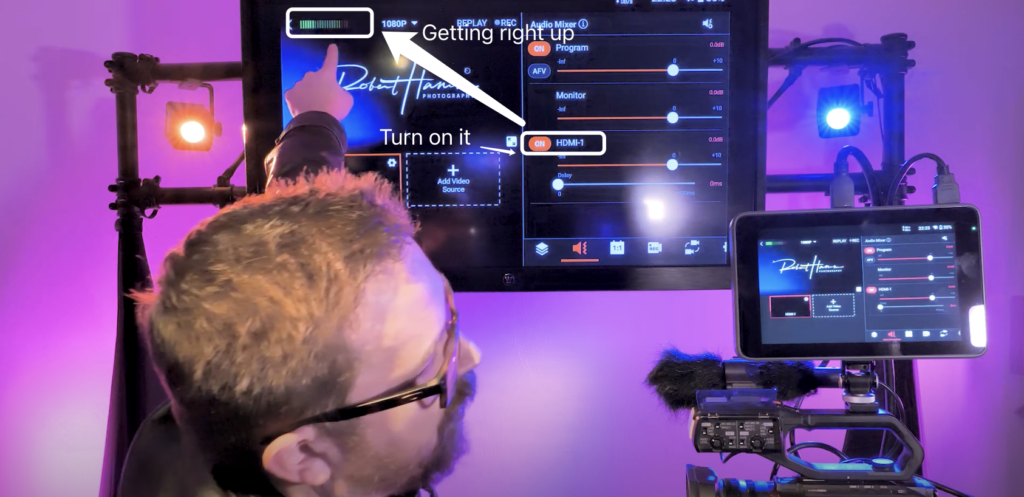
Represented by various bars – the green, yellow, and red. The green bars should ideally be your focus, showing safe audio levels. On the YoloBox, a line of green bars signifies audio levels up to -12 decibels (dB). The yellow bars represent levels between -12 and -6 dB, while the red bars denote levels around -3 to 1 dB and above, a clear indicator of audio peaking and likely distortion.
To achieve good audio, you need to aim for unity gain, and this can be visually checked on your camcorder. In this case, check to see that your audio levels consistently average around -12 dB. This audio level ensures a clear, well-adjusted sound free from unwanted glitches or distortion. By following this process, you will be well on your way to optimizing your audio settings.
Troubleshooting
Please note:
Before starting any live stream, always check if your HDMI cameras can successfully transmit audio over HDMI. This applies not just to interactions with YoloLiv products, but with any device you use. It’s crucial to confirm your camera’s compatibility ahead of time.
If you cannot hear anything through the headphone jack, please have a quick check:
- Check if the audio level bar on the top left corner is constantly changing or not. If there is no change, that means there is no audio input to YoloBox/ Pro. Please do the following 2 things to solve:
- Make sure the audio device you’re connecting with YoloBox/Pro is well connected.
- Make sure you’ve turned up the audio level for both mic-in and program.
- If the audio device is well connected, but still no sound in the headphone jack, check if the sound level is set too slow. Go to the tab “Audio Mixer” > check both the audio source and the program channel.
- If still doesn’t work, try unplugging and replugging your devices.
- You can also try re-entering the live stream, creating a new live stream, or restarting the device.
- If all the above methods don’t work, please immediately contact us via contact@yololiv.com. We’ll be getting back to you as soon as possible.
Wrap up
This guide walks you through mastering your audio workflow with YoloLiv. It starts with understanding the concept of ‘Unity Gain’ for the harmonious working of your audio devices. The initial setup begins with mic selection and continues through level adjustments for optimal gain. In cases where multiple audio input requires accommodating, external devices are handy. Post setting up the audio source and mic gain, the information is sent over to your streaming device like YoloBox Pro or Ultra, adjusting the input level as per the output level of your camcorder. This process ensures clean, clear, and flexible audio control for premier streaming and recording.
15,457 total views, 31 views today

Ellie, the Customer Success Manager at YoloLiv, devoted to ensuring every customer enjoys a satisfied product experience. She proactively addresses customer inquiries and needs to deliver exceptional service.


