One of the greatest functions of YoloBox Ultra, YoloBox Pro and YoloBox Mini is the Chroma Key, which supports seamlessly adding a different background of a design or a different location for your live productions with just a few taps. The Chroma key for live streaming is an important tool for broadcasters, and in this article, we dig into it.
Intro
Now obviously you are seeing a chroma key background behind me and the reality is this background has been behind me the whole time in other videos. It’s just removed so that you can see the real background behind.
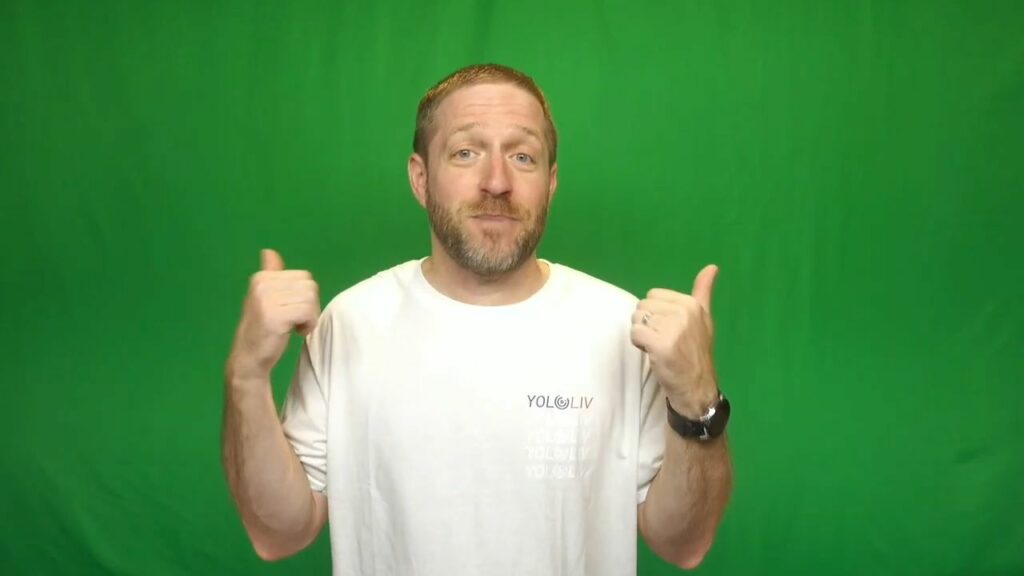
What I have in front of me right here is a Yolo box. And first I’m going through it so you can see the interface that I’m working with. I have this direct camera and my overhead view so you can see what I’m doing on here.
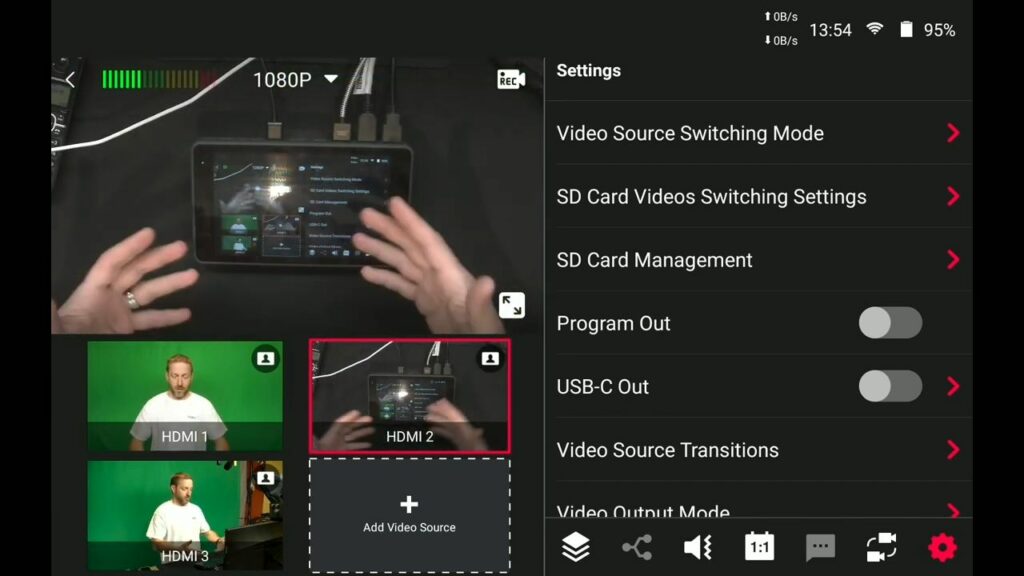
And then I have this other camera view of all these components that are in my studio, including the YoloBox I’m working on, my monitor, camera, and microphone. You can see this big backdrop behind me and when I wave my hands in front of the lights, you can see the shadows.
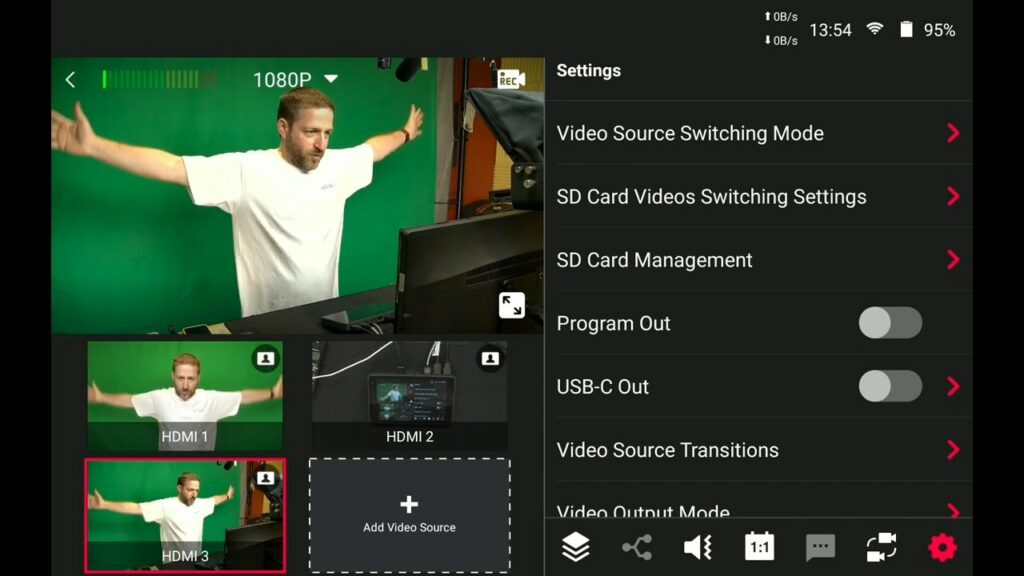
Green screen demonstration
So the key to what we’re going to do is to remove the background from my main shot. The way you do that is you hit the little person icon in the upper right-hand corner of that camera feed. So now we’re in a special keying switch. We’re going to turn the keying on and the green is gone. You can adjust and see as I adjust similarity that it just starts to go away. We can adjust the smoothness for the proper thing.
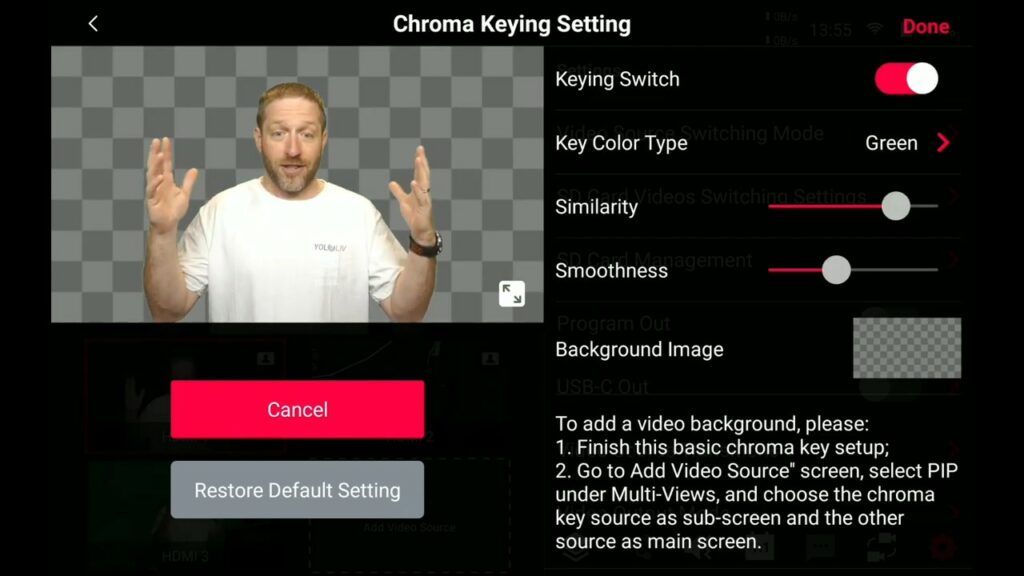
Adding background images
At the bottom, it says background image. And underneath it, you can see the picture-in-picture.
Let’s just start with a basic background image. we’ll click on the option and pick a background image of an office. And you can see I’m in an office and got a little bit of green around my arms.
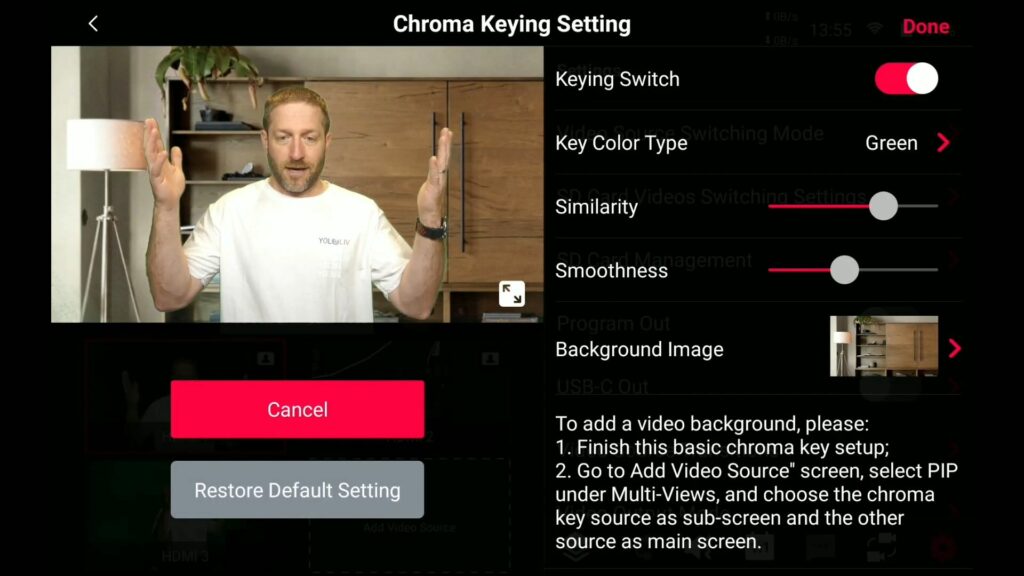
You could use the similarity&Smothness to adjust the edged green. But you don’t want to go too far or else you would become a ghost based on your setup.
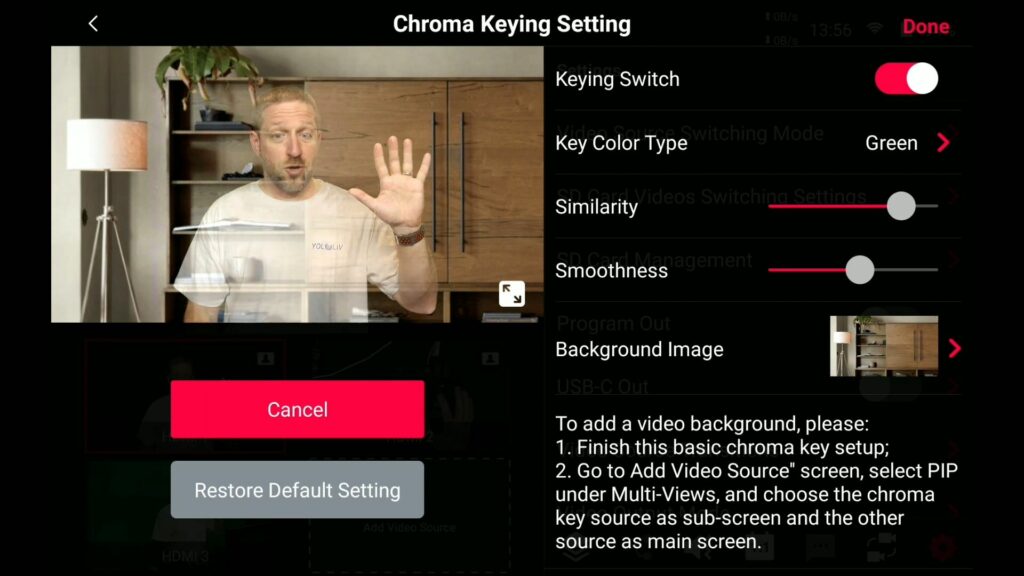
I have a big soft light in front of me and two low lights down here to fill in the bottom of the green screen so I can get pretty close to it. It still keys out so you don’t see many shadows. And that’s the key is to make that green as bright and shadow-free as possible.
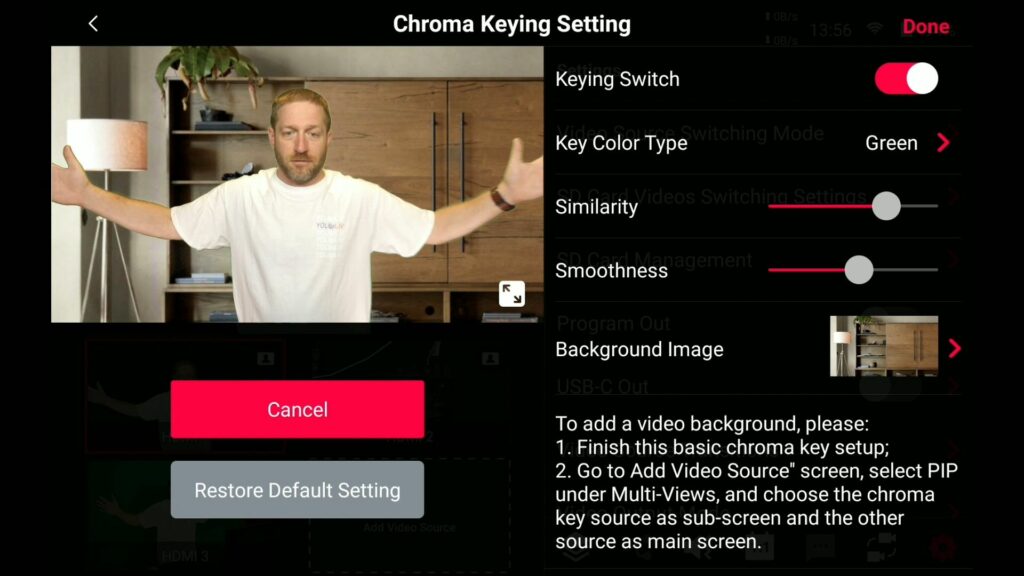
So you can see over here that I still do have shadows but they’re minimized. So the shadows from the big light on top are offset by the lights I have down here underneath my table. And overall the main shadow is behind me so you’re not going to see that which helps to key out pretty well.
Now I have a shot of the HDMI 1 from the camera. It doesn’t show the background from the camera. but when you do select it, you get the composite view as we call it.
Adding video source as background
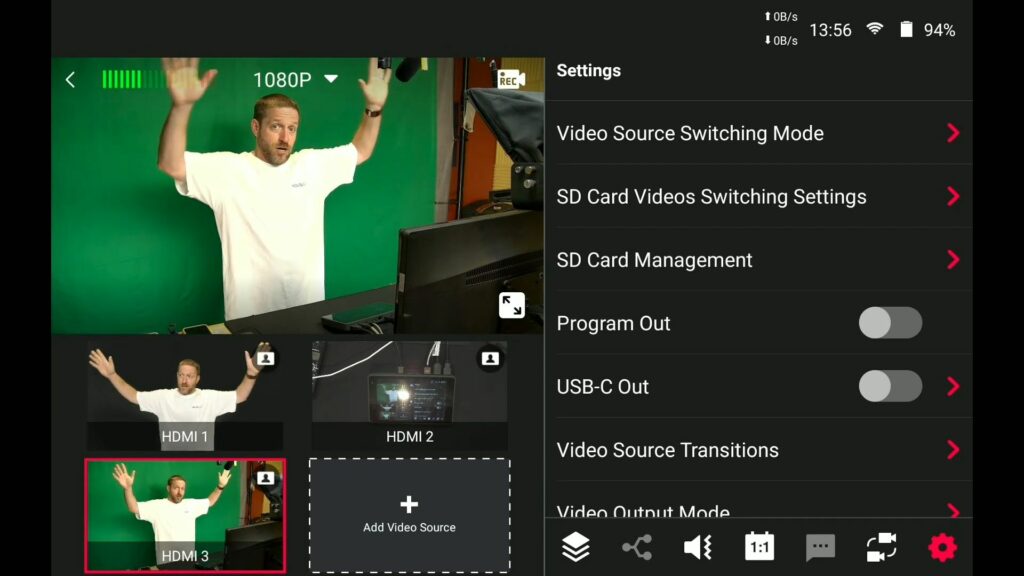
The answer for whether I can have a video behind me is YES. We’re going to add a video from the SD card. Actually, I was using this one before. It has to be part one of the things that you can select as part of your program. Then we add a picture-to-picture video.
Step 1
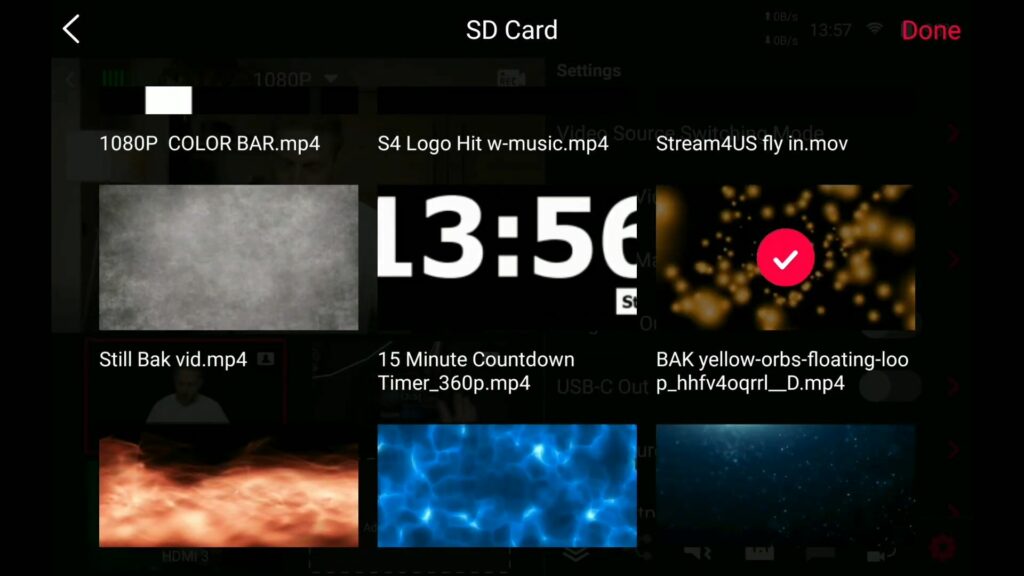
The background is the video that I just loaded (that motion graphic looping background) and the thing on top is going to be the shot of me that has no background. Because the thing that the Yolo box doesn’t take that composite video and put it over top of the composite shot from input one. It doesn’t put that plus the background over top of the other item. But it lets you put the main screen display into or over top of a video background.
Step 2
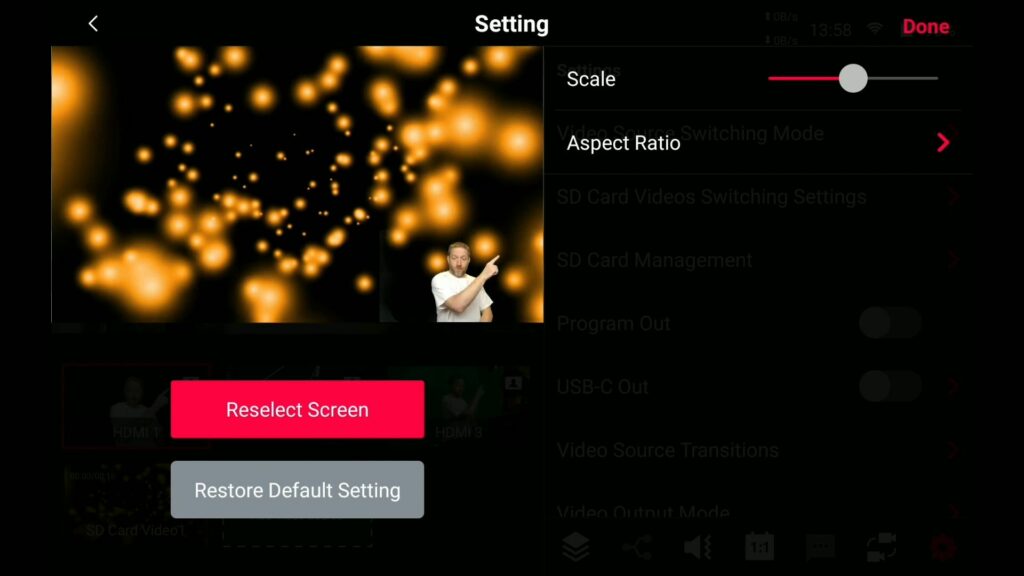
Here’s where it gets interesting. Over here, you can see the scale option and aspect ratio. The scale is the key thing. If we adjust the scale big, I am as big as the background. You could adjust the aspect ratio which is very useful in other aspects.
Step 3
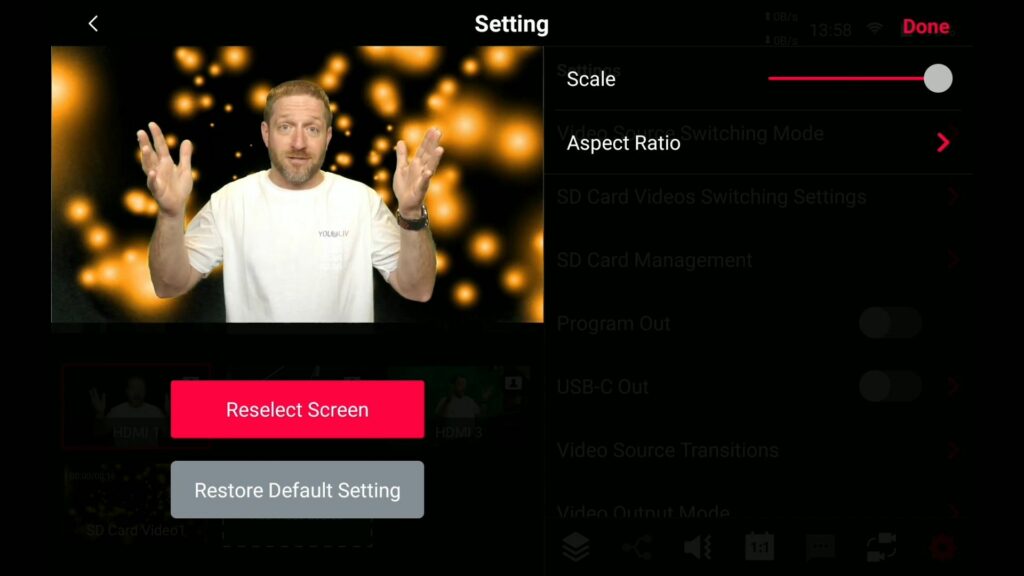
So now you can see my picture-in-picture video in the center of the bottom. We select that and I am keyed over top of the video background and you can have anything playing behind you, like any video clip and it will loop automatically. That is a great feature while it could be as long as you want. For example, this one is 16 seconds so it’s not too long but it’s long enough that it doesn’t feel overly repetitive. you can’t adjust the speed or crop the video or zoom into it further.
Step 4
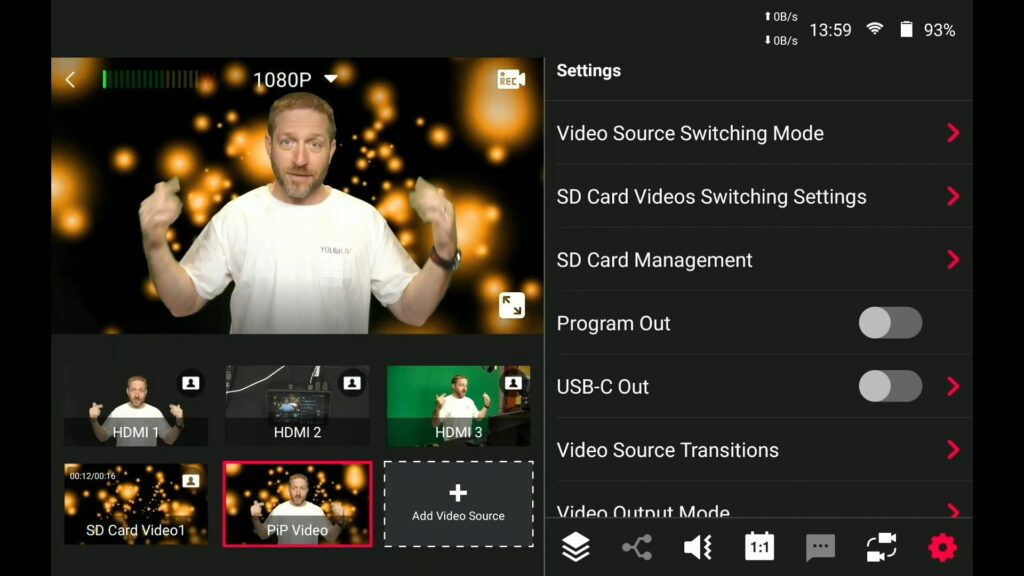
Now you can see from this view that it’s exactly the same background I’m doing in the yolobox pro, using a loaded video as the background, picture-in-picture with my chroma-keyed camera view over the top of it. That is the key part I have used today.
Conclusion
YoloLiv’s built-in chroma key software for live streaming is still available as a shot. If I select HDMI one, it’s going to bring the still image version in front of the viewers. It’s going to put that in the program, but internally it just holds the green screen version.
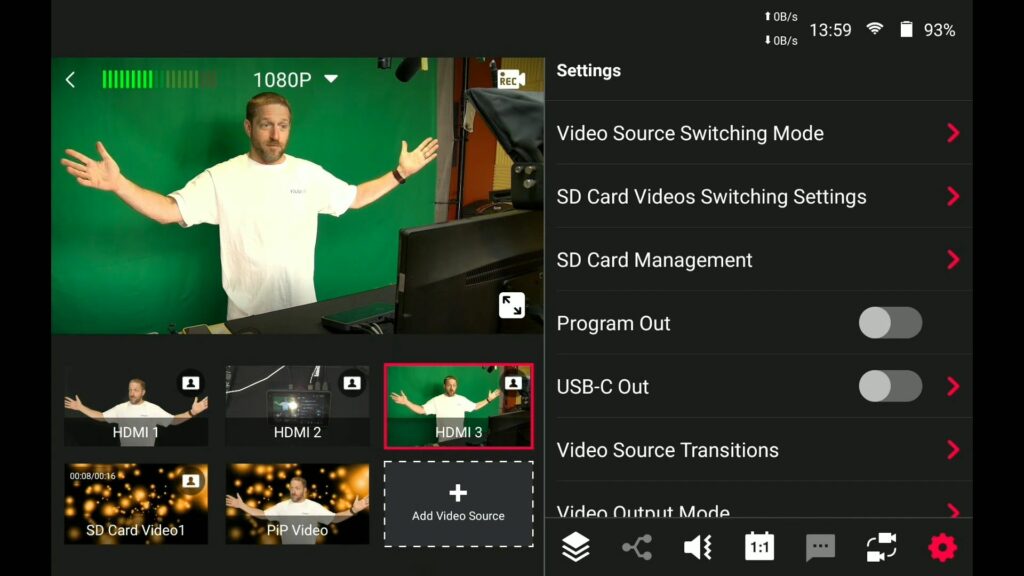
So if I want to do picture-in-picture, it’s not going to bring this background with me. It’s going to put me over the video and that is how you can put yourself over a video background. It could be two people side by side, or whatever. You can set the type of green screen as you want.
This is how you do that chroma key to deliver the motion background behind you that you want to use.
To know more about Yololiv tutorials and reviews, subscribe to our YouTube channel here: https://www.youtube.com/c/YoloLivTech. Enjoy more videos from Yololiv!
Cerise is a support specialist at YoloLiv with three years of experience working as a Customer Support Specialist in the consumer electronics industry. She also produces articles including video productions, tips and tricks and expert knowledge in the audiovisual industry.

