If you haven’t used Facebook live shopping, you have to think about it in 2022! With this new Facebook feature, you can showcase products in real-world settings, put product details and purchase options front and center, and interact with your audience directly from your live broadcast.
In this video, I’m gonna show you how to navigate live shopping on Facebook step by step.
Before you get started, please Remember
- This experience is currently only available in the United States and Thailand. You have to make sure that you have a physical store here, otherwise, you’re gonna receive faulty news like this.
- You will need a Facebook Page shop so that you shall have a business page, and have to be an admin.

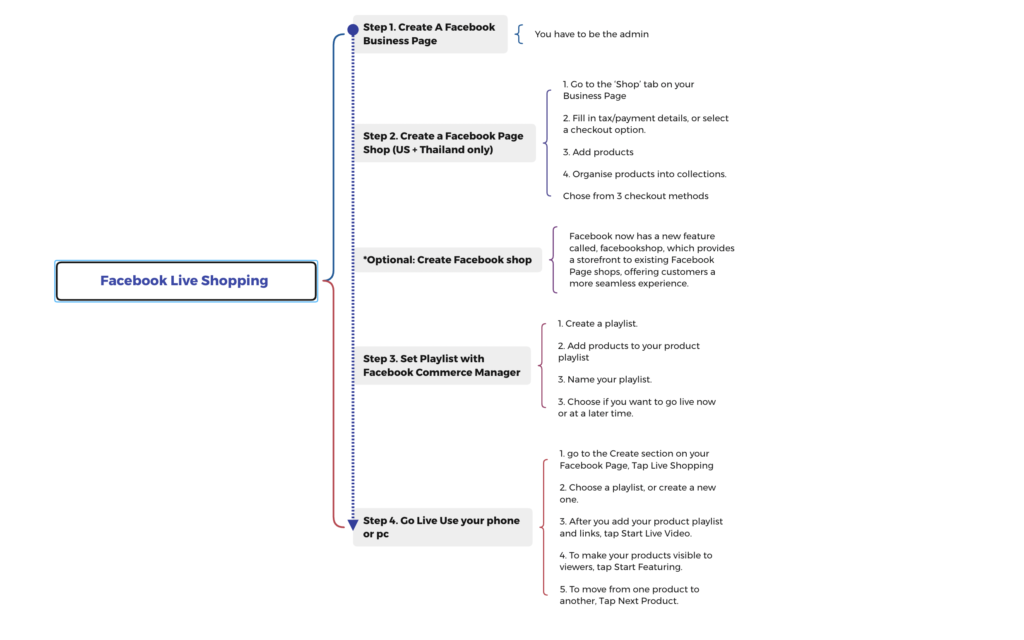
Step1:Setup a Facebook Page Shop
- 1. Go to the ‘Shop’ tab on your Business Page, click agree to Facebook’s Merchant Terms and Policies.
- 2. Fill in tax/payment details, or select a checkout option.
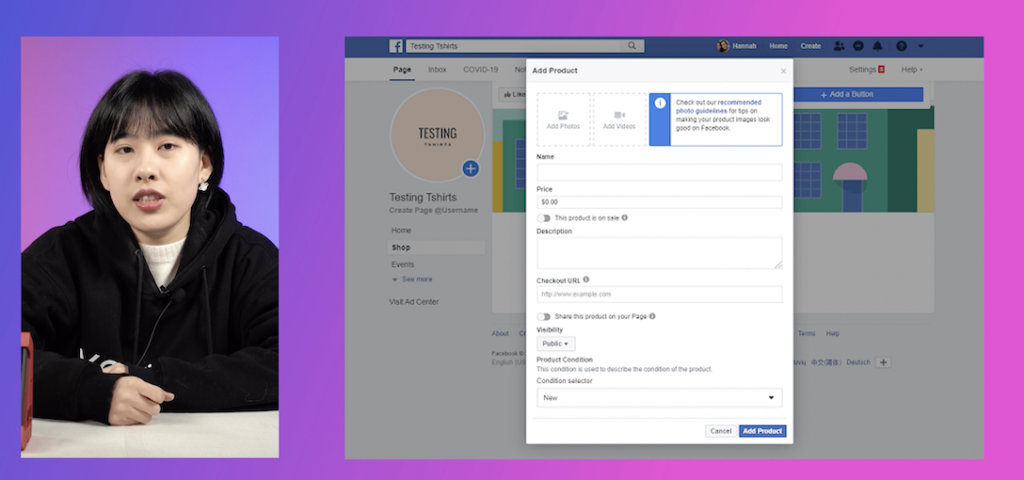
- 3. Add products, you’ll need to have product images, a product price, a product description, and name, as well as a link to where the customer can check out (normally the product listing on your own website).
- 4. Organise products into collections. It will make it easier for your customers to figure out different product lines. Click Add Collection, name it, and add relevant products.
- 5. When you set up a shop, you can choose if you want people to complete their purchase on your own website, on Facebook or Instagram, or via direct message.
Facebook does a brilliant job of guiding you through adding products and payment details to your account, so as long as you follow this guidance, you won’t go too far wrong!
* Also, I have to remind you that Facebook now has a new feature called, Facebook shop, which provides a storefront to existing Facebook Page shops, offering customers a more seamless experience. I haven’t tried it yet, so if you guys have used this feature, please share your experience in the comments below.

Step2:Facebook Live shopping
Once you got your Facebook page shop, let’s move on to create Facebook live shopping!
- Create a playlist. Go to your Commerce Manager on your pc, and click on your shop logo.
- Add products to your product playlist by checking the box, or drag it.
- Name your playlist.
- Choose if you want to go live now or at a later time. If you select Facebook Site, you’ll post your live shopping to Facebook.com. Or If you select Facebook App, you’ll receive a notification on your mobile device.
* For those who are using your phone, you can also follow a similar mobile setup:
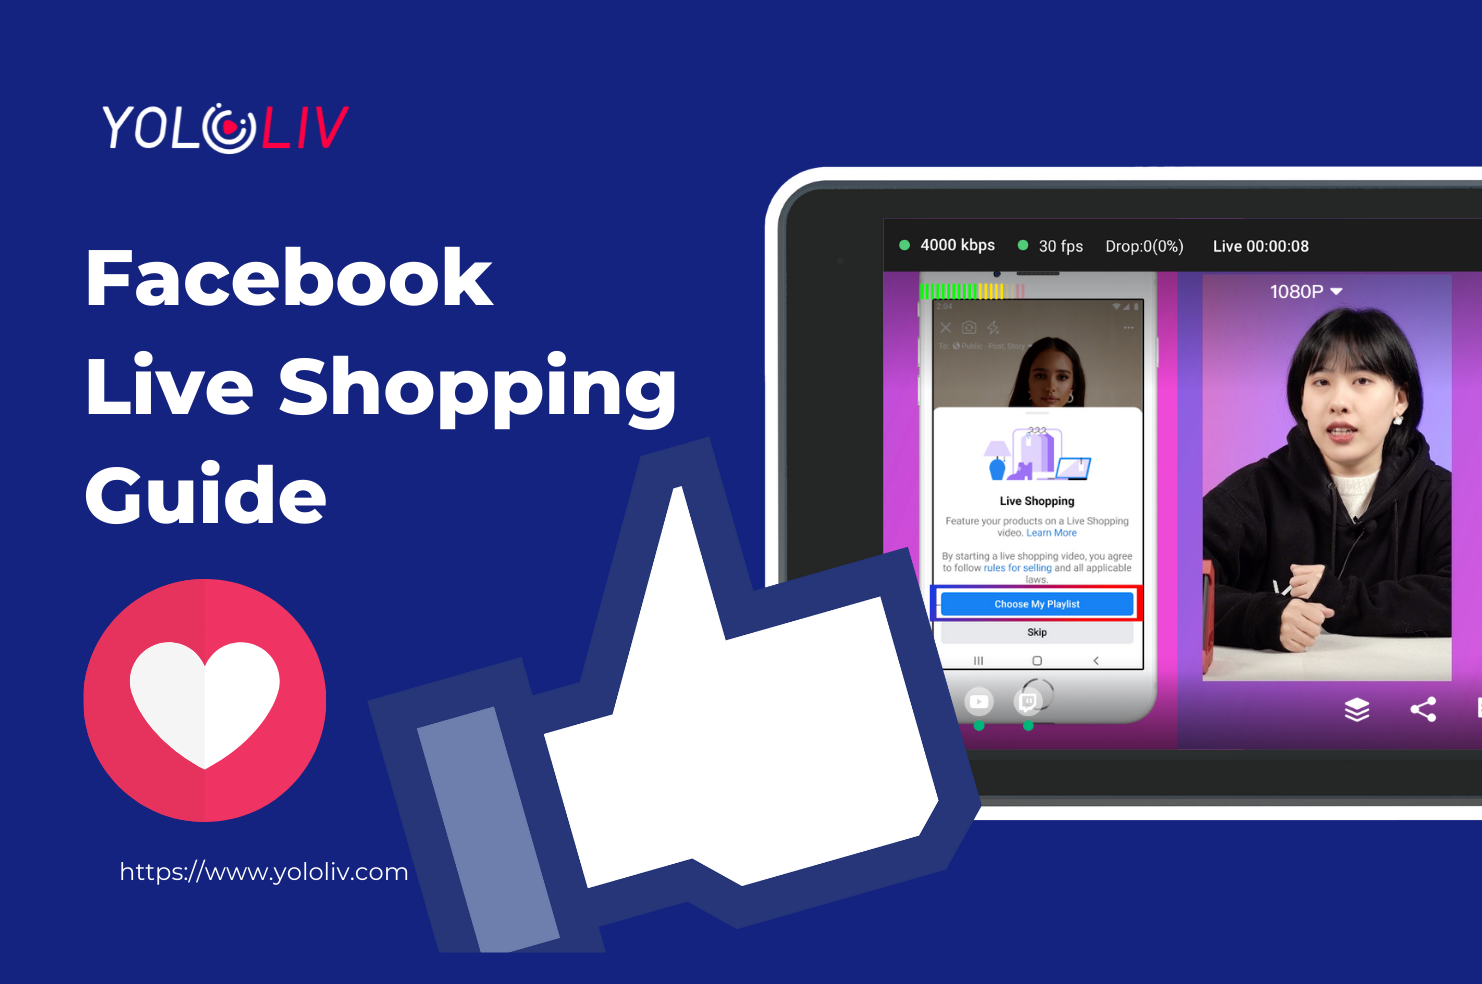
- go to the Create section on your Facebook Page, Tap Live Shopping
- Choose a playlist, or create a new one.
- After you add your product playlist and links, tap Start Live Video.
- To make your products visible to viewers, tap Start Featuring. When you tap Start Featuring, shoppers can see your products.
- To move from one product to another, Tap Next Product.

Finally, your live shopping video is complete! I hope this video gives you some insight into how to use facebook to create shoppable livestream, and if you are interested, make sure to subscribe to Yololivtech, we will have more information about live selling in general. See you in the next one.
29,756 total views, 51 views today

Hanru is a marketing specialist at YoloLiv. She manages all the social media accounts, blog posts about the AV industry, and all the videos including product tutorials about YoloBox and YoloBox Pro.


