If you want to mirror your YoloBox Ultra‘s display on your Mac for top-notch performance in applications like Zoom but don’t know how to connect YoloBox Ultra and MacBook, this blog can help. This integration ensures a seamless and impeccable streaming experience.
Step1: Prepare the cables
- Prepare the webcam connection cable (USB A to USB C) included in the YoloBox Ultra packaging. (Please make sure that he is NOT a charging cable, otherwise it will cause damage to the YoloBox Ultra. It is possible to use the YoloBox Ultra as a charging source)
- Prepare the USB Hub
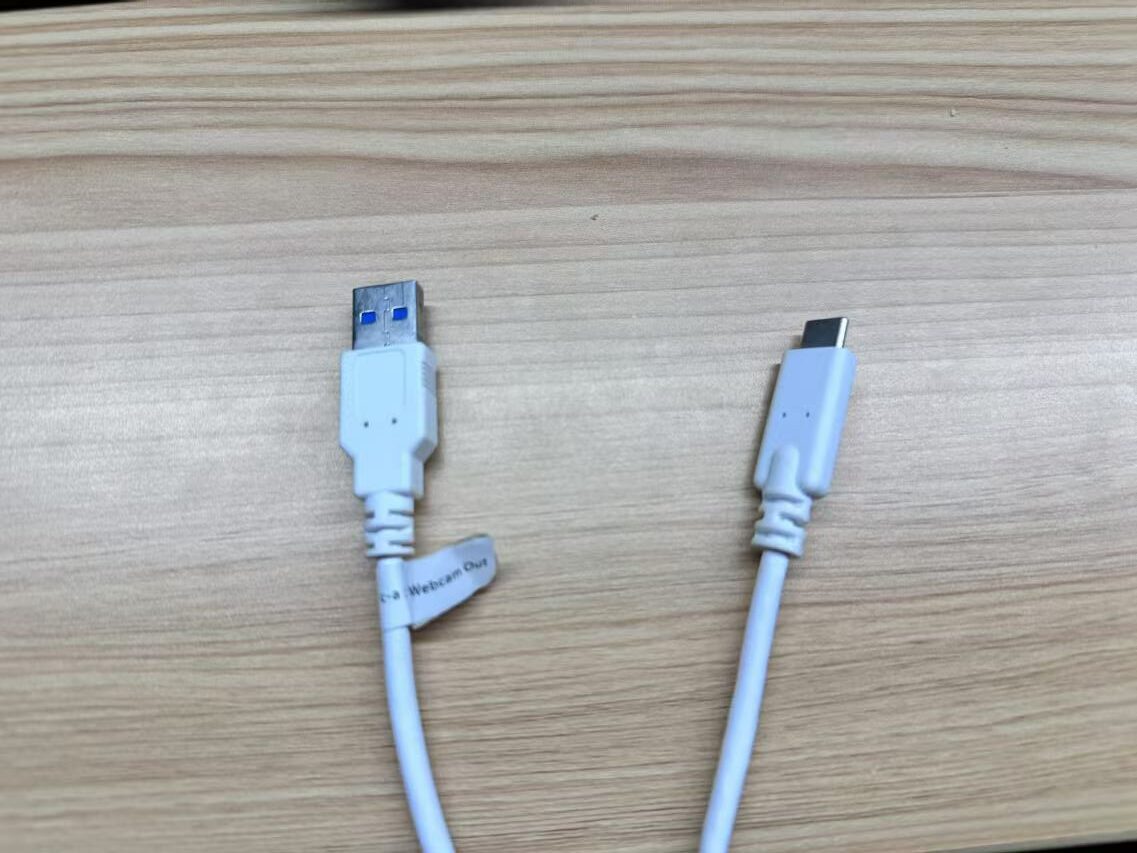
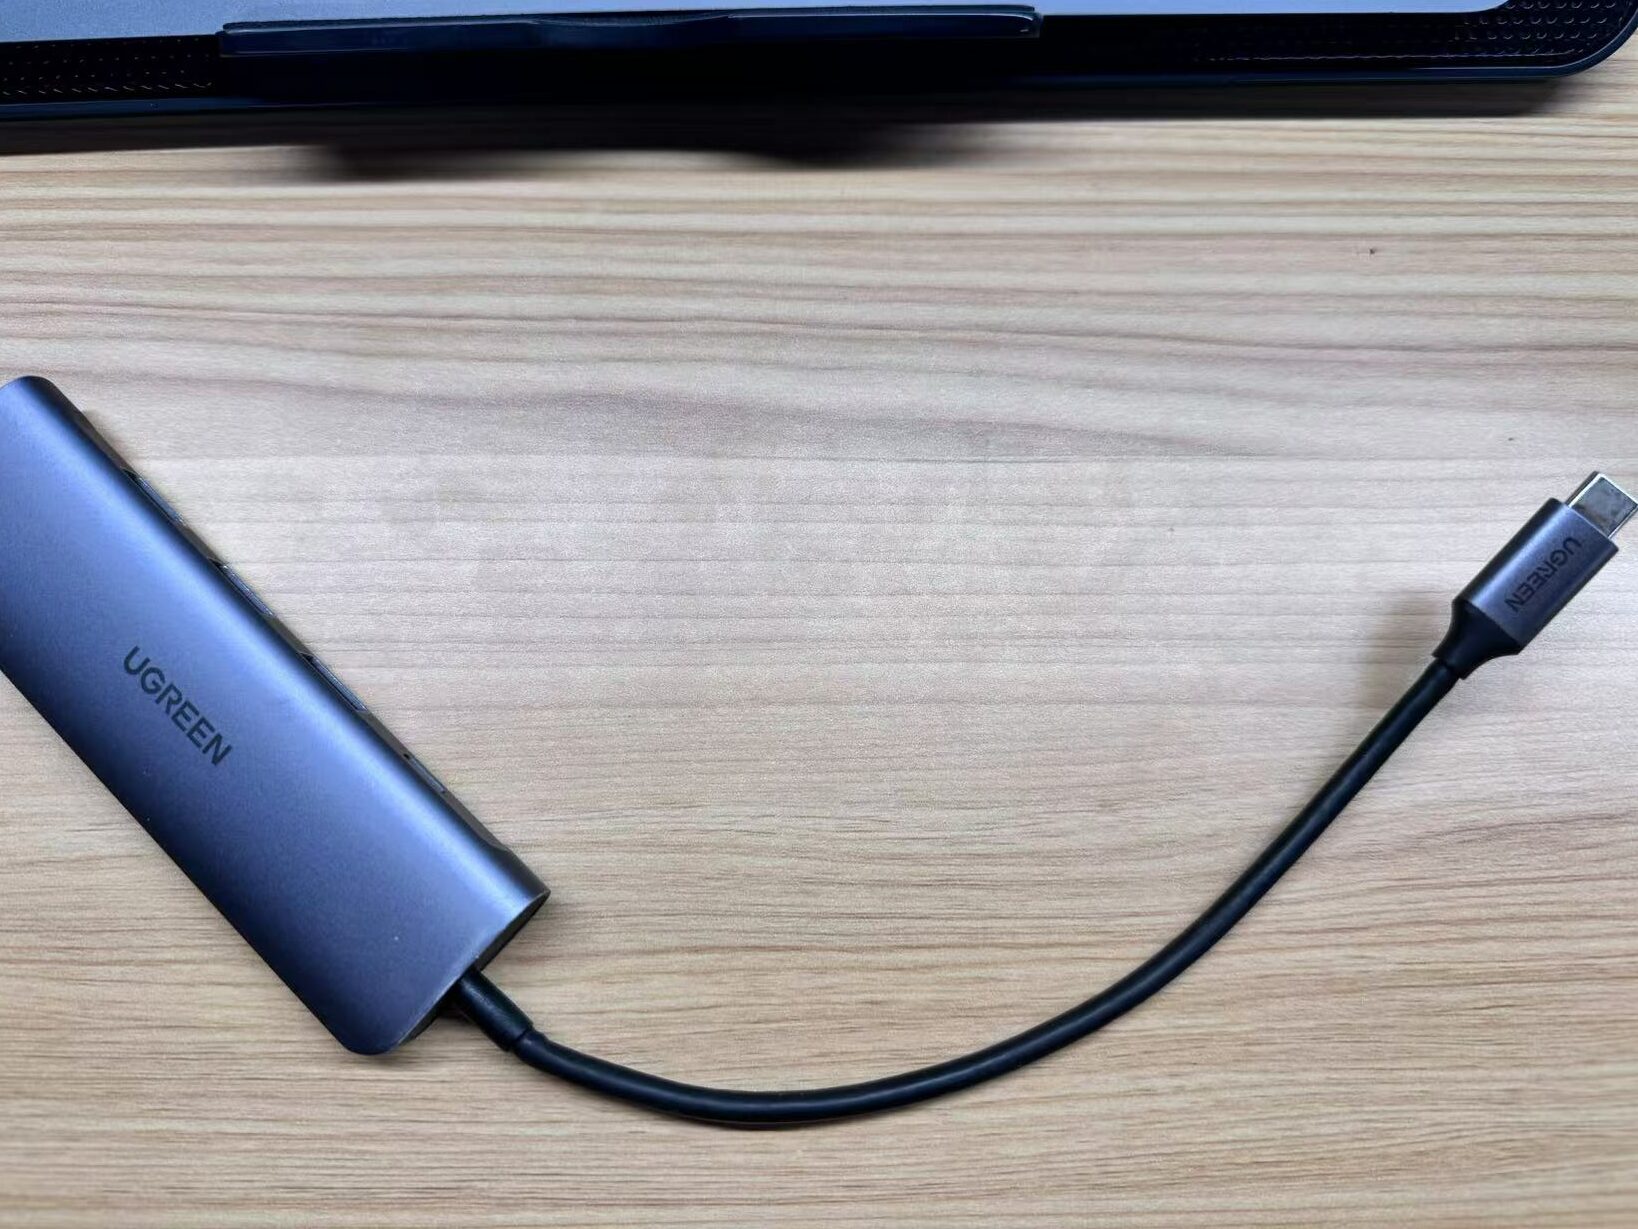
Step2: Correctly plug the cables into YoloBox Ultra and MacBook
Please ensure that the C end is securely inserted into the USB-C port of the YoloBox Ultra, while the A end is plugged into the USB Hub of the MacBook. (Be sure not to turn it upside down or you may damage the YoloBox!) Connect the USB Hub to the USB-C port of the MacBook for optimal performance. This setup allows for seamless data transfer between the devices, ensuring a stable and reliable connection throughout your streaming session.
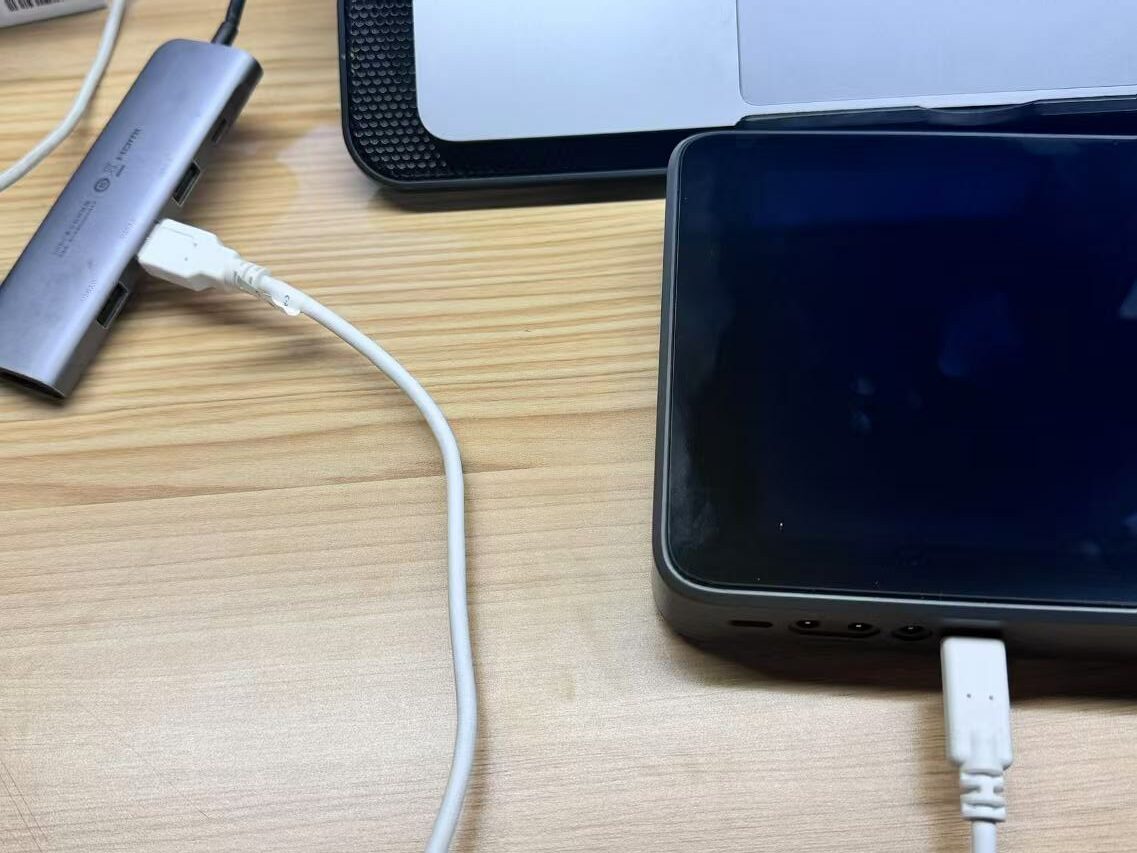
Step3: Adjustment options
- Create an event on YoloBox Ultra and pick a video source
- Turn on ‘USB-C OUT’ on YoloBox Ultra (This step is crucial and easy to miss!)
- Select YoloBox on the video option on the software (The picture below takes Zoom as an example)
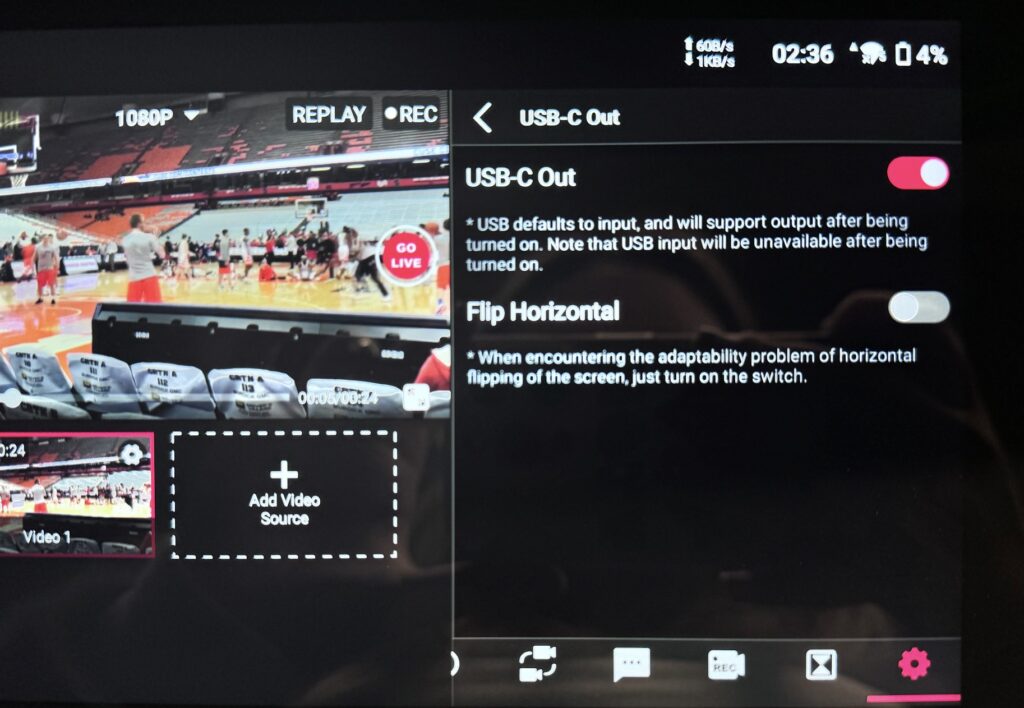
YoloBox Ultra
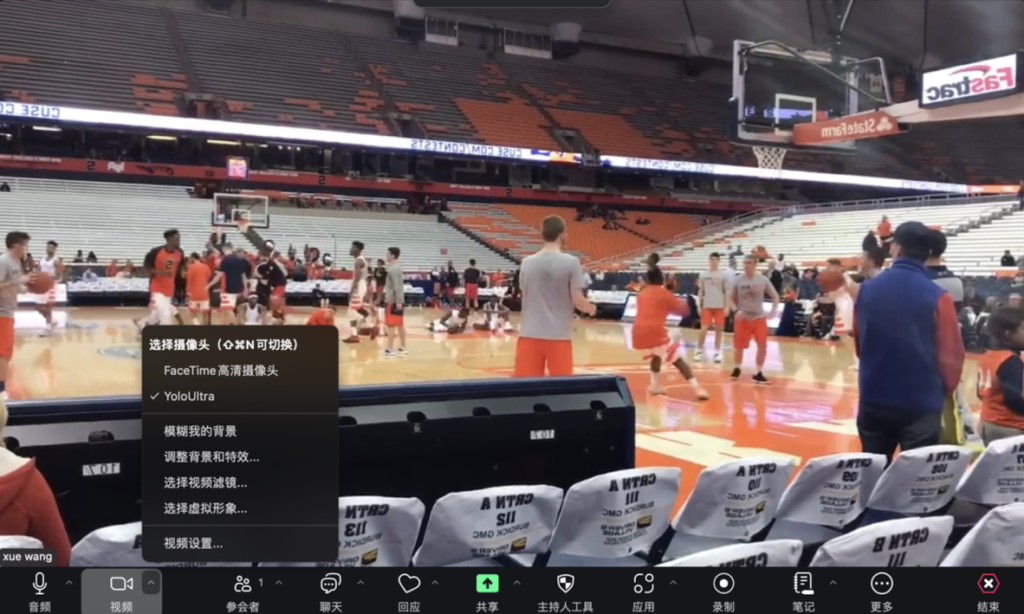
Zoom
Conclusion
Following the above method, you can use the screen in YoloBox Ultra as a video source in Zoom meetings. If you want to display the computer screen on the ultra, the HDMI cable computer is directly connected to the YoloBox Ultra HDMI IN. However, the MacBook does not have an HDMI output port, through the docking station HDMI connection, sometimes there are docking station compatibility problems, you can try to docking station plug-and-play to see if you can normally recognize the hdmi signal.
6,479 total views, 3 views today

Sharon, a member of YoloLiv, has a great interest in the live streaming industry and is learning to write articles related to live streaming.

