Whether it’s an outdoor concert, a church sermon, or a conference, streaming isn’t easy. In this blog, we’ll provide you with useful tips on maximizing the potential of your live streaming events. By understanding the fundamental principles to follow and having the right equipment, you can easily adapt and scale your live streaming efforts to suit any situation.
Essential Equipment for Live Streaming Events
The essentials
- Camera: The camera is the most critical component of live streaming events. You can use a variety of cameras depending on your budget and requirements. A professional-grade video camera with good low-light performance and image stabilization is ideal for capturing high-quality video. Alternatively, a DSLR or mirrorless camera with video capabilities can also deliver excellent results.
- Microphone: High-quality audio is equally important in live streaming events. A good external microphone can significantly enhance the audio quality and provide clear and crisp sound to your viewers. Consider using a shotgun or lavalier microphone depending on the setup and the type of event.
- Tripod or Gimbal: A stable shot is crucial for professional-looking live streaming events. A tripod or a gimbal can help you achieve steady shots and avoid shaky footage. Choose a tripod or gimbal that is sturdy, easy to set up, and can accommodate the weight of your camera.
- Lighting: Proper lighting can make a significant difference in the visual quality of your live stream. If you are hosting an indoor event or filming in low-light conditions, consider using additional lighting equipment such as LED lights or softboxes to ensure well-lit and visually appealing video.
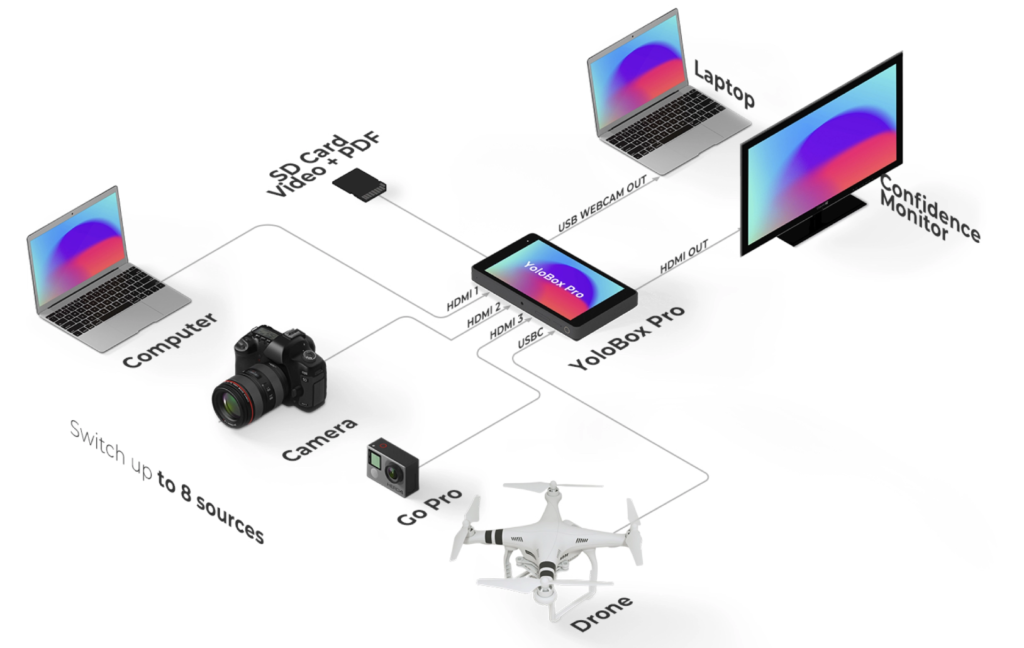
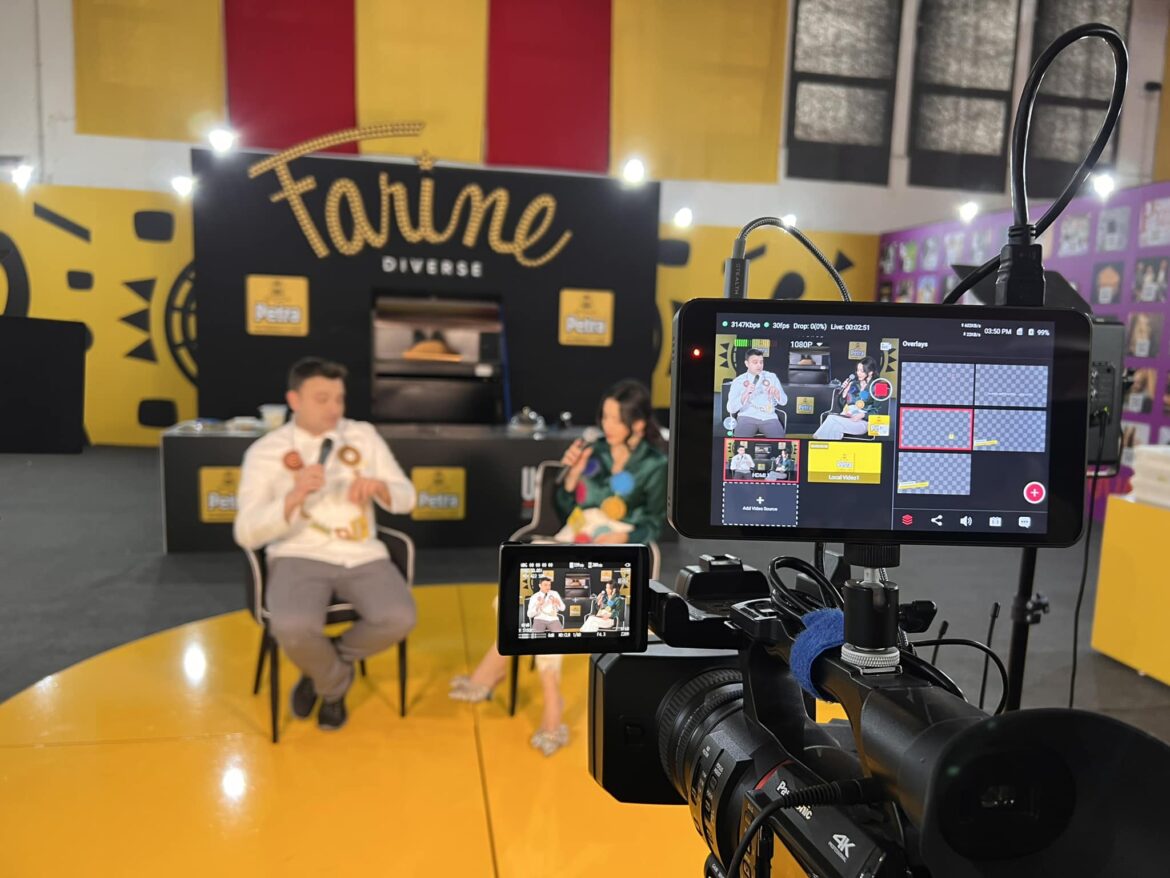
- Encoder: An encoder is essential for converting the video and audio signals from your camera into a format that can be streamed online. You can use a hardware encoder or a software encoder, depending on your budget and requirements. Popular software encoders include OBS Studio, Wirecast, and vMix. A hardware encoder usually refers to a dedicated appliance that builds from the ground up for live streaming and recording. YoloBox, YoloBox Pro, and Instream are great examples.

Devil in the details
- Additional batteries
- Gaffer tape – it’s crucial to secure cords to prevent tripping hazards.
- Extra cables (such as HDMI, Ethernet, XLR, etc., as cables can be faulty)
- Power strip(s)
- Lighting may not always be necessary, but indoor venues may lack sufficient natural light at times.
Six Steps to Create a Live Streaming Event
Survey the Venue
Before setting up your live streaming equipment, it’s important to survey the venue to determine the optimal setup. Take note of the available space, lighting conditions, and any potential obstacles that may affect your setup. This will help you plan the placement of cameras, audio equipment, and other necessary components for the live stream.
Set up the Video Sources
Once you have surveyed the venue, it’s time to set up your video sources. This may include cameras, smartphones, or other devices that will capture the video for your live stream. Place the cameras in strategic positions to capture the desired angles and perspectives. Make sure to test the video sources and ensure that they are properly connected to your streaming setup.
Configure the Audio
High-quality audio is crucial for a successful live stream. Set up your audio equipment, such as microphones and speakers, to capture clear and crisp audio. Test the audio levels and make sure that the sound is balanced and free from any distortions. Consider using external microphones for better audio quality, especially in larger venues.
Configure Your Stream Settings
Next, configure your stream settings on the platform you are using for live streaming. This may include setting up the video resolution, frame rate, bitrate, and other settings based on your audience and streaming platform’s requirements. Make sure to double-check the settings to ensure that they align with your desired streaming quality.
Test Your Stream
Before going live, it’s essential to thoroughly test your stream to identify and resolve any potential issues. Conduct a test stream to a private or test channel to check the video and audio quality, as well as the overall performance of your live streaming setup. This will help you identify and fix any technical glitches or discrepancies.
Monitor Your Stream
During the live streaming event, it’s crucial to continuously monitor your stream to ensure that it is running smoothly. Keep an eye on the video quality, audio levels, and any potential issues that may arise during the event. Be prepared to troubleshoot and resolve any technical issues in real-time to ensure a seamless experience for your viewers.
Conclusion
20,015 total views, 11 views today

Meredith, the Marketing Manager at YoloLiv. After getting her bachelor’s degree, she explores her whole passion for YoloBox and Pro. Also, she contributed blog posts on how to enhance live streaming experiences, how to get started with live streaming, and many more.


