If you’re a content creator or streamer, you know that having high-quality video and audio is crucial to engaging your audience. Open Broadcaster Software (OBS) Studio is a popular software used by streamers and content creators to record and stream their content. However, getting the perfect settings for OBS Studio can be challenging, and if you’re not careful, your stream quality can suffer. In this article, we’ll go over the best OBS Studio settings for high-quality streaming.

Introduction
Before we dive into the best OBS Studio settings, let’s take a moment to understand what OBS Studio is and why it’s so popular among content creators.
What is OBS Studio?
Open Broadcaster Software Studio (OBS Studio) is an open-source software that allows users to record and stream video content from their computers. It was first released in 2012 and has since become one of the most popular streaming and recording software programs among content creators.
Why is OBS Studio so popular?
There are several reasons why OBS Studio is so popular among content creators:
- It’s free and open source, meaning anyone can use it without having to pay for it.
- It’s easy to use and offers a wide range of customization options.
- It’s compatible with both Windows and Mac OS.
- It supports multiple sources, including webcams, capture cards, and even game consoles.
- It’s constantly being updated and improved by the community.
Best OBS Studio Settings for High-Quality Streaming
Now that we have a basic understanding of what OBS Studio is and why it’s so popular, let’s dive into the best OBS Studio settings for high-quality streaming. We’ll cover the following topics:
- Video settings
- Audio settings
- Encoding settings
- Output settings
- Advanced settings
Video Settings
The first thing you’ll want to do when setting up OBS Studio is to configure your video settings. To do this, navigate to the “Video” tab in OBS Studio’s settings.
Base (Canvas) Resolution
The base resolution is the resolution at which you’ll be capturing your video. Ideally, you should set your base resolution to match your monitor’s native resolution. For example, if your monitor’s resolution is 1920×1080, you should set your base resolution to 1920×1080.
Output (Scaled) Resolution
The output resolution is the resolution at which you’ll be streaming or recording your video. The output resolution should be lower than your base resolution to reduce the load on your computer’s processor. A good rule of thumb is to set your output resolution to half your base resolution. For example, if your base resolution is 1920×1080, you should set your output resolution to 960×540.
Downscale Filter
The downscale filter is used to reduce the size of your video when you’re downscaling it. There are several downscale filters available in OBS Studio, but the best one for streaming is Lanczos. It provides the best quality downscaling with the least amount of artifacts.
FPS (Frames Per Second)
FPS is the number of frames your video will capture per second. A higher FPS means smoother video, but it also puts more strain on your computer’s processor. A good FPS to aim for is 60.
Audio Settings
In addition to video settings, you’ll also want to configure your audio settings to ensure high-quality audio for your stream or recording.
Sample Rate
The sample rate determines the quality of your audio. A higher sample rate means higher quality audio, but it also increases the file size. A sample rate of 44.1kHz is suitable for most streaming and recording purposes.
Bitrate
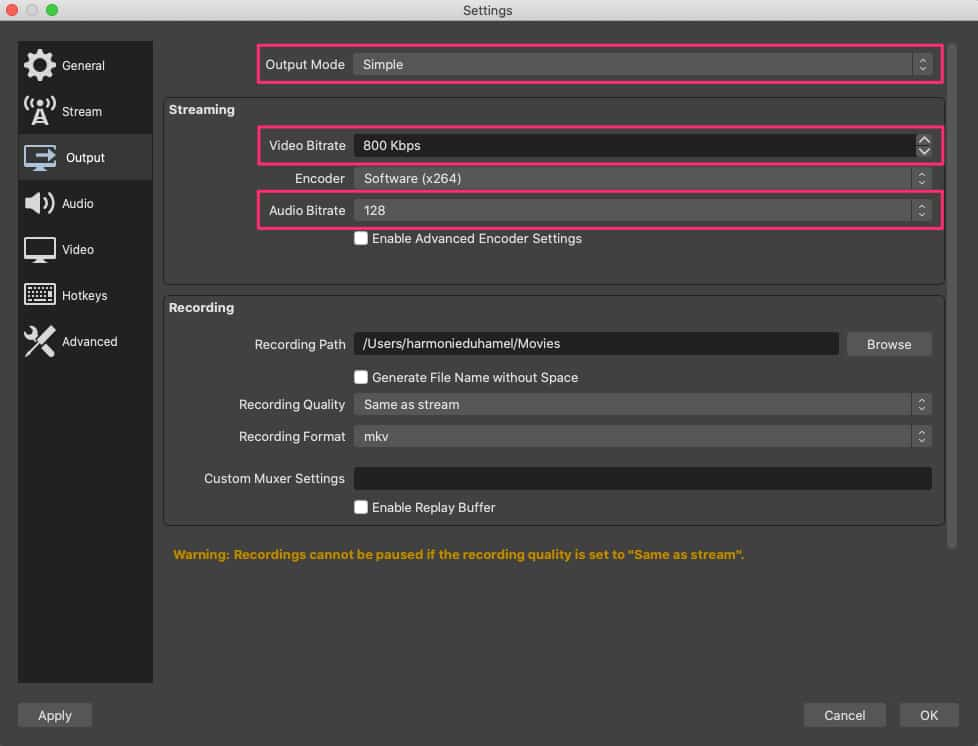
The audio bitrate determines the amount of data used to encode audio per second. A higher bitrate means higher quality audio, but it also increases the file size. A bitrate of 160 kbps is suitable for most streaming and recording purposes.
Channels
Channels determine the number of audio tracks that will be recorded or streamed. For most purposes, a stereo (2 channels) setup is sufficient.
Encoding Settings
Encoding settings determine how your video and audio will be compressed and encoded for streaming or recording. It’s important to find a balance between high-quality video and audio and a reasonable file size that won’t put too much strain on your computer’s processor.
Encoder
OBS Studio comes with several encoding options, but the best one for streaming is the x264 encoder. It provides high-quality video with low latency and is compatible with most streaming services.
Bitrate
The bitrate determines the amount of data used to encode video per second. A higher bitrate means higher quality video, but it also increases the file size. A bitrate of 3500 kbps is suitable for most streaming purposes.
Preset
The preset determines the trade-off between encoding speed and quality. A slower preset will provide higher quality video but will take longer to encode. For streaming purposes, a fast or medium preset is usually sufficient.

Output Settings
Output settings determine how your video and audio will be outputted after encoding. It’s important to choose the right settings to ensure compatibility with your streaming service.
Streaming Service
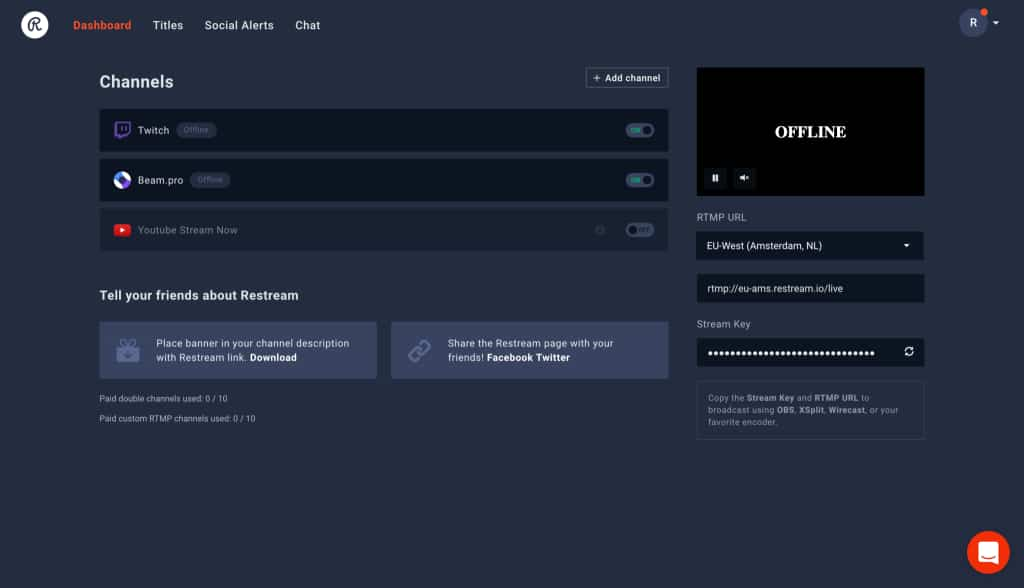
OBS Studio supports several streaming services, including Twitch, YouTube, and Facebook. Choose the service you’ll be using and enter your stream key in the appropriate field.
Recording Path
If you’ll be recording your stream, choose a location on your computer where the recording will be saved.
Advanced Settings
Advanced settings allow for further customization of OBS Studio, but should only be adjusted if you know what you’re doing.
Scene Buffering Time
Scene buffering time determines the amount of time OBS Studio will buffer a scene before it starts encoding it. A longer buffering time can help reduce dropped frames, but also increases latency.
Process Priority Class
Process priority class determines the priority of OBS Studio’s process compared to other processes running on your computer. For best performance, set the priority to “above normal.”
Network Buffering
Network buffering determines the amount of time OBS Studio will buffer your stream before it’s sent to the streaming service. A longer buffering time can help reduce dropped frames, but also increases latency.
Conclusion
In this article, we’ve covered the best OBS Studio settings for high-quality streaming. By following these settings, you can ensure that your video and audio are of the highest quality possible, while still maintaining a reasonable file size and minimizing strain on your computer’s processor. Remember to test your settings before going live to ensure everything is working as expected. While OBS is a brilliant encoder software, there are plenty of incredible hardware helping customer on live streaming, such as YoloBox Pro.
106,063 total views, 123 views today

Aura, the marketing specialist at YoloLiv. With her extensive work experience and motivated work attitude, she continually encourages user issue solutions and feature request fulfillment in order to satisfy the demands of more people.


