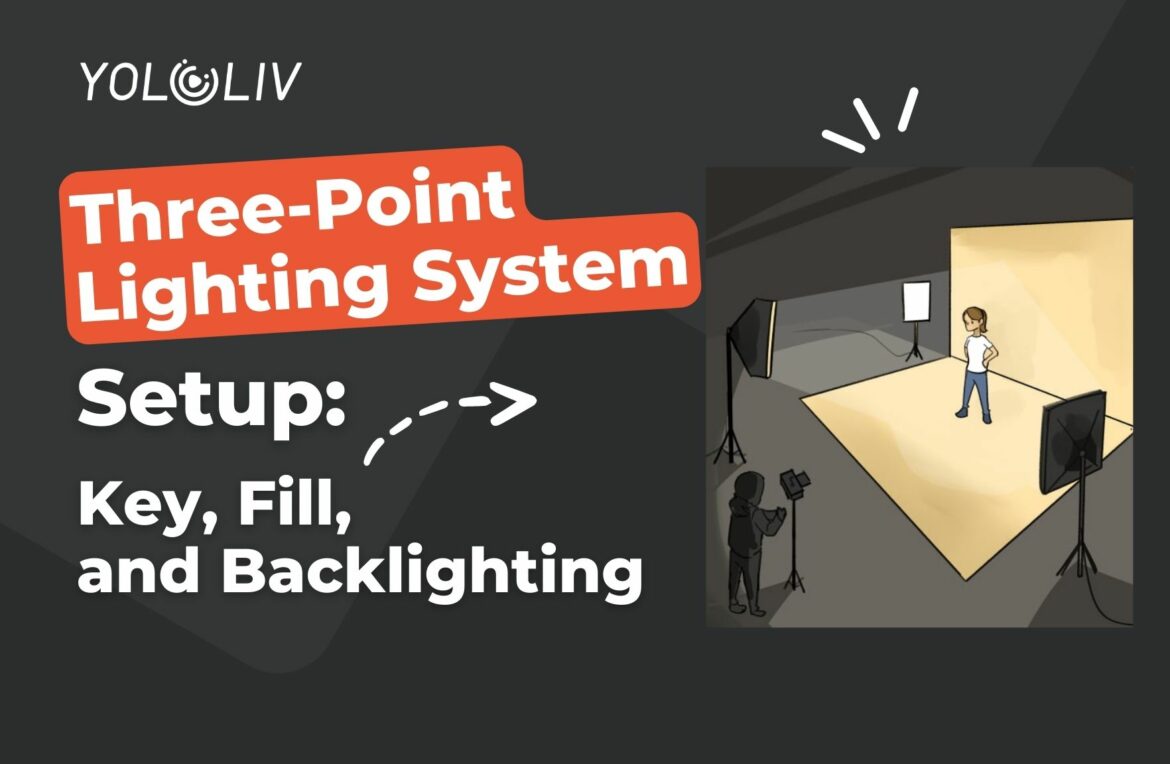
Are you seeking to enhance the quality of your live streams or recorded videos? Perhaps you’re considering using a virtual backdrop or a green screen? If so, the solution lies in setting up a three-point lighting system.
In this comprehensive guide, you’ll discover the art of configuring a three-point lighting system, a critical step towards elevating your video production. As you’re about to see, achieving standout video quality hinges on proper lighting, and that’s precisely what a well-constructed three-point lighting system brings to the table. Let’s delve into the details and equip you with the skills you need.
Understanding the Three-Point Lighting System
A three-point lighting system is a strategic arrangement of three distinct lights designed to effectively illuminate your videos. This arrangement yields a noticeable improvement in video quality, requiring minimal effort on your part, and ensuring that your videos, whether live or pre-recorded, are beautifully illuminated.
1. Key Light
The key light takes center stage in this setup. Positioned in front of the subject, slightly off to the side (often referred to as the “smart side”), it constitutes the primary light source and casts the most intense illumination onto your subject. The key light’s pivotal role makes it crucial to choose a light with adjustable color temperature, intensity settings, and controls to achieve optimal results.
The angle at which the key light is set is of paramount importance. A key light angle ranging between 15 and 70 degrees is ideal, with 45 degrees being the preferred angle for most setups.
2. Fill Light
The fill light is positioned in front of the subject, but on the opposite side of the key light within the three-point lighting arrangement. Its purpose is to “fill in” any shadows cast by the key light. This light should be slightly less intense than the key light and positioned at an angle that introduces depth and detail to the subject’s opposite side.
Experimenting with the fill light’s angle can yield varying effects. For a polished, professional look, aligning the fill light’s angle with that of the key light creates symmetry, evenly illuminating both sides of the subject.
Maintaining the right intensity balance is crucial. Ideally, the fill light’s intensity should be set between 50-75% of the key light’s intensity, allowing for versatility in achieving different visual outcomes.
3. Backlight
Positioned behind the subject, the backlight serves to create separation between the subject and the background. For optimal results, elevate the backlight slightly higher to illuminate the subject from top to bottom, lending a distinct outline.
The backlight is generally placed at an angle on the same side as the key light, providing a counterpoint to the key light’s illumination.
Pro Tip: Overcoming Glasses Glare
If you wear glasses and are implementing a three-point lighting system, it’s essential to address glare prevention. This practice enhances professionalism during live streams or video recordings, ensuring your face is visible without any distracting reflections.
The Benefits of a Three-Point Lighting System
The experience of encountering unwanted shadows during video creation is a common challenge. Separating the subject from a green screen can also prove challenging. Enter the three-point lighting system, which addresses these gaps and offers several noteworthy benefits:
- Elevates the professional appearance and polish of your videos or live streams.
- Mitigates shadows, enhancing visibility of the subject’s face.
- Facilitates easier background replacement when using a green screen or virtual backdrop, owing to improved subject-background separation.
- Adds dimension to the subject, creating depth and visual interest.
- Offers creative potential for different moods and styles; a soft key light creates an optimistic, light-hearted ambiance, while a low key light evokes a dramatic, mysterious atmosphere.
Setting Up Your Three-Point Lighting System
Now that you grasp the essence of a three-point lighting system, let’s walk through the steps of assembling one for your video production needs:
- Choose an Optimal Location: Identify a space with white walls or a plain backdrop for optimal lighting effects.
- Consider Space and Proximity: Ensure ample distance between lights and subject to prevent harsh shadows.
- Position the Key Light: Place the key light in front of the subject, approximately 3 feet away, directed at the subject’s face.
- Place the Fill Light: Situate the fill light at a 45-degree angle from the subject’s side, about 3 feet away, effectively filling in shadows.
- Set Up the Backlight: Position the backlight behind the subject, roughly 3 feet away, casting light towards the back of the subject’s head.
- Fine-Tune for Perfection: Adjust the lights’ positioning until you achieve the desired lighting effects.
The beauty of a well-structured three-point lighting system is its stability. Once set up, you’ll likely find little need to dismantle the arrangement. For added convenience, consider using gaffer tape to mark positions, streamlining future setups when using platforms like YoloCast for live streaming.
In conclusion, mastering the art of a three-point lighting system can significantly enhance your video production endeavors. By following these straightforward steps, you’ll elevate your studio’s lighting quality, ultimately translating into improved video output that captures your audience’s attention and leaves a lasting impression.
10,311 total views, 3 views today

Pauline is a Marketing Specialist at YoloLiv, with over three years of experience in overseas digital marketing. She aims to produce high-quality and practical content for all tech lovers and dig deeper into the live streaming fields.


