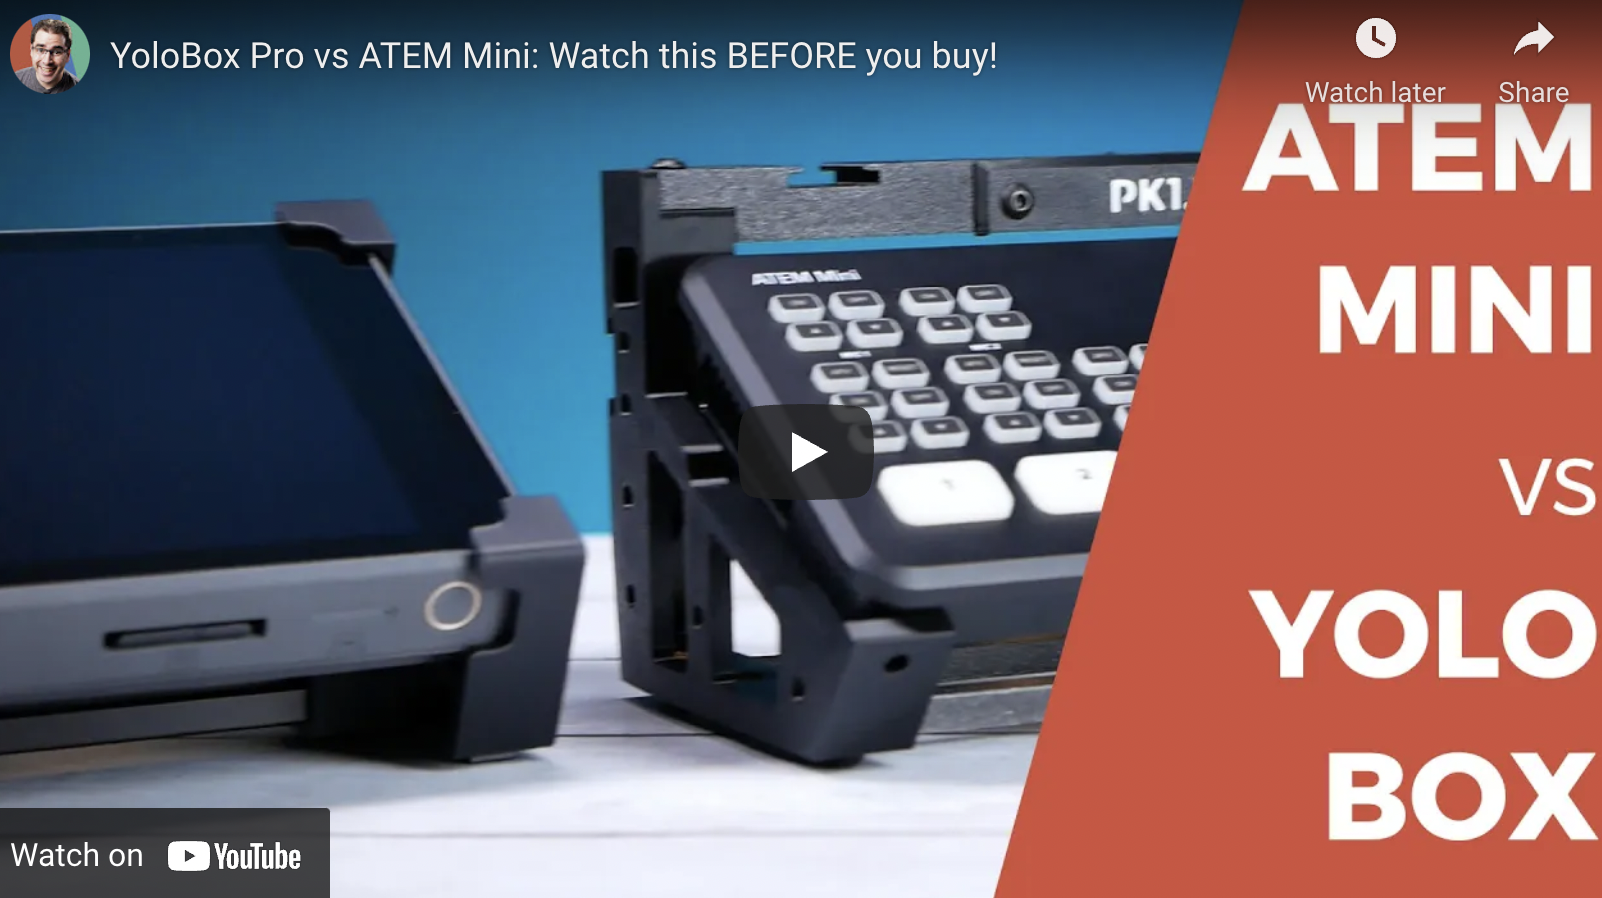
Aaron Parecki, our favorite live streaming Youtuber, an industry veteran and an expert in the Pro AV world, has done numerous videos for YoloBox/Pro & ATEM Mini in the past year.
In this video, he gives a very comprehensive and insightful review on the differences between YoloBox Pro and ATEM Mini from the following aspects:
- How quickly can you get started
- Extra required accessories
- Automation and External Control
- Picture Quality
- Chroma Key Comparison
- Stability and Reliability
- Audio Capability
- Firmware Updates
Original ATEM Mini vs YoloBox
- The original Mini is a 4-input HDMI switcher that is also a USB capture device, and it only costs $295.
- The original YoloBox, is $899, so three times the cost, and it has only two HDMI inputs. But on the other hand, it is an all in one device.
- If you’re planning on streaming using your computer with OBS, Ecamm or any of those kinds of software, I would definitely get the ATEM Mini instead of the YoloBox because the YoloBox isn’t really going to help you.
- On the other hand, if you’re mainly going to be doing live streams out and about and you don’t want to drag a computer with you, then the YoloBox is the clear winner here.
- You can actually use both of these together. You can stream from the YoloBox, but have the ATEM plugged into one of the YoloBox inputs.
How quickly can you get started?
- YoloBox
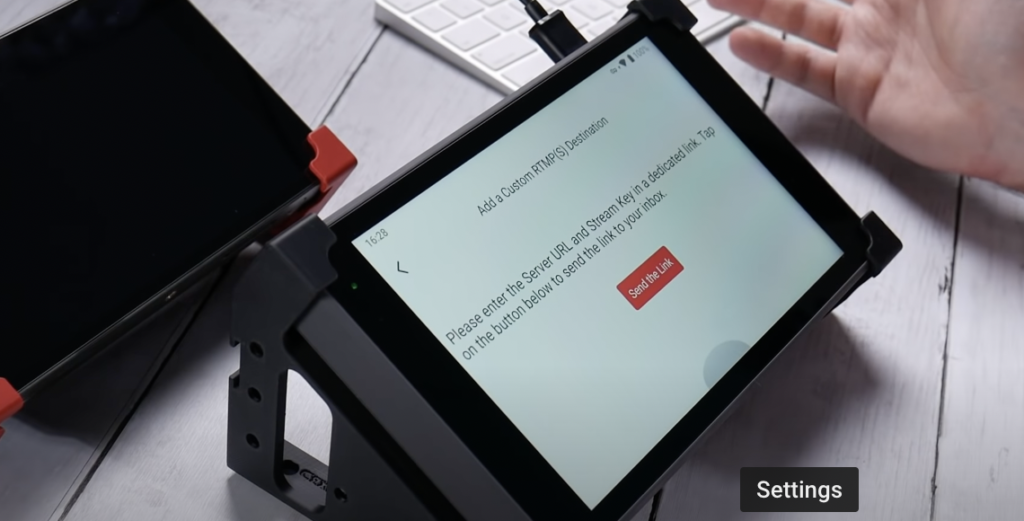
- First, you have to log in on the device and create an account.
- Then you plug in one or more camera sources to connect streaming sources.
- You can log in on the device itself, connecting it to Facebook or YouTube or Twitch, or you can add a custom RTMP URL as well.
- At this point, you are ready to go.
- ATEM Mini
- Once you plug in a couple of cameras, you’ll also need to download the ATEM Software Control onto your computer so that you can configure the stream key.
- Once that’s connected, you can go choose the streaming platform and then enter your stream key here. Once this is set up, you don’t need the software control anymore.
- And if you go to “File” and “Save Startup State”, that is going to bake everything into the device and save the stream key so that it’ll be there even if you unplug the power.
- And now, when you’re ready to stream, you press the “on air” button and you are live.
- YoloBox is the clear winner in this category, since you don’t need anything other than the YoloBox itself to start streaming.
Extra required accessories
- YoloBox:
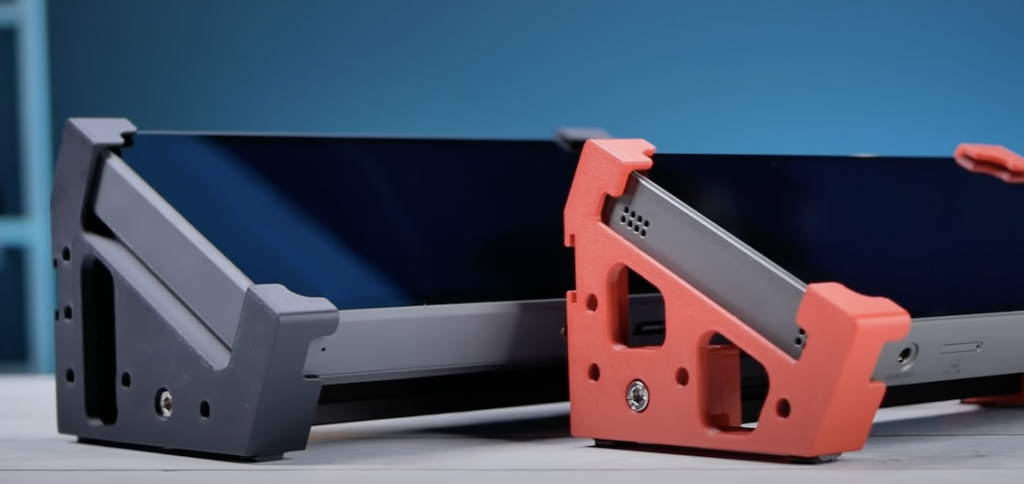
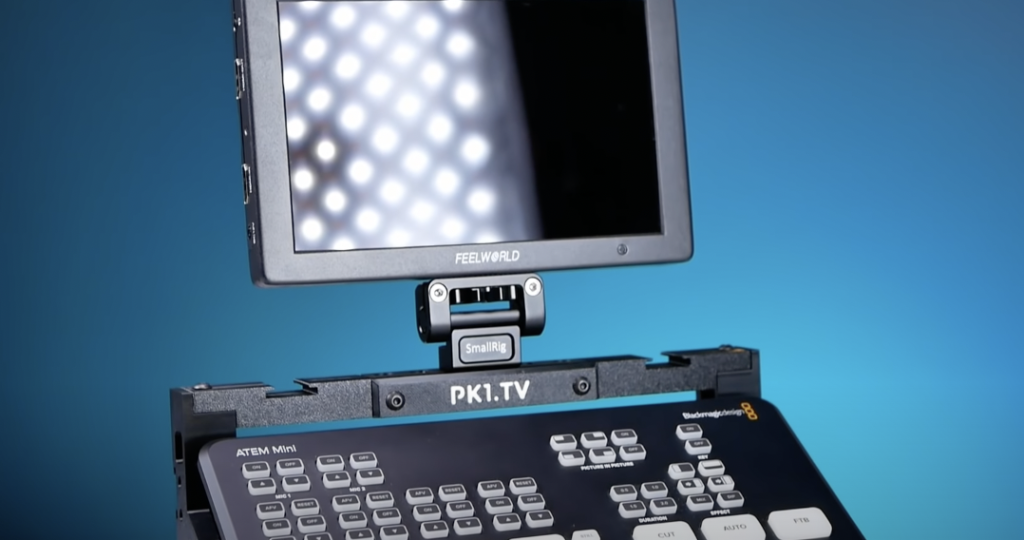
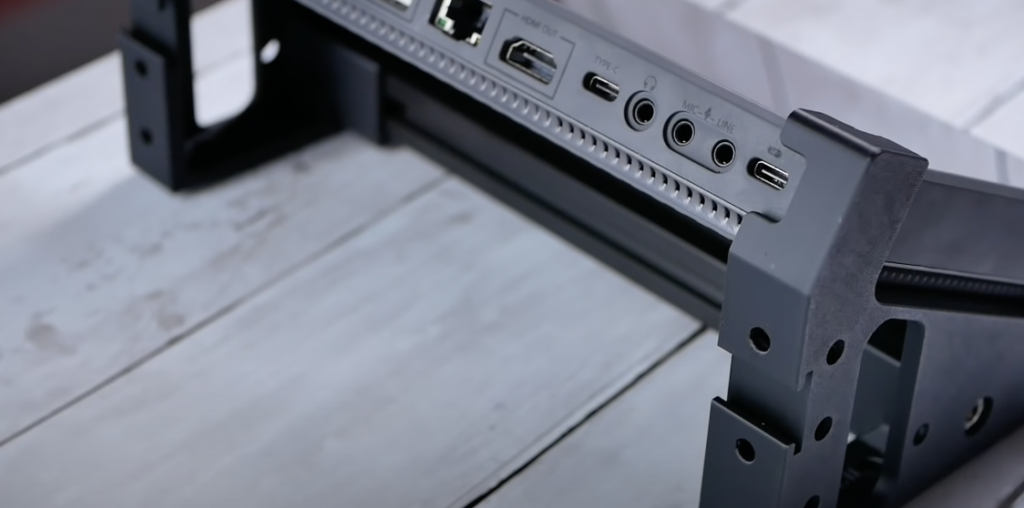
- You’ll probably want some sort of tripod or stand to put this on a desk if you aren’t attaching it to a camera, and that’s actually why Aaron made his PK1 stand for it as well. Plus, then you can attach things like the wireless mic receiver or wireless HDMI receivers onto the back.
- ATEM Mini:
- You will need a computer or an iPad to set things up.
- You technically don’t need a monitor, but you almost certainly will want one, both for the multiview to see all of your cameras, as well as to monitor your streaming and recording status.
- And if you want to add any graphics, you will have to bring them in through the HDMI port using some sort of graphics generation program on a computer.
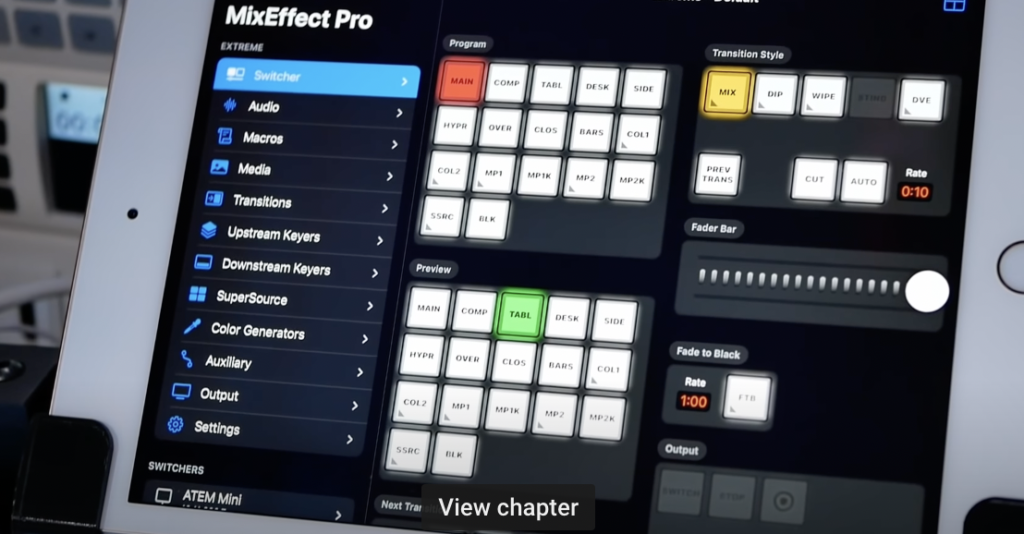
- If you want to control anything besides the basics of camera switching, you’re going to need either your computer running the software control app or something else, like an iPad running mix effect.
Automation and External Control
- YoloBox:
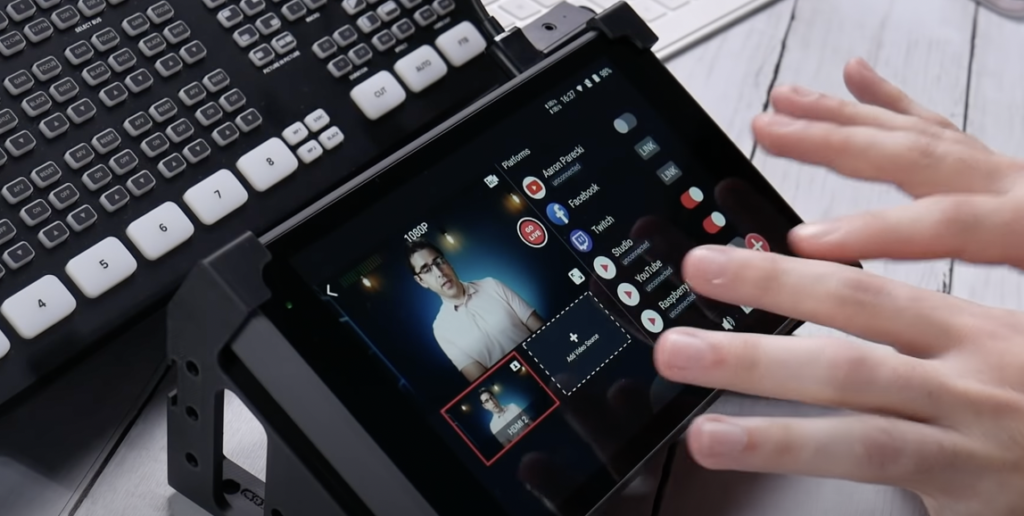
- Everything that the YoloBox can do is controlled from the touch screen itself.
- ATEM Mini:
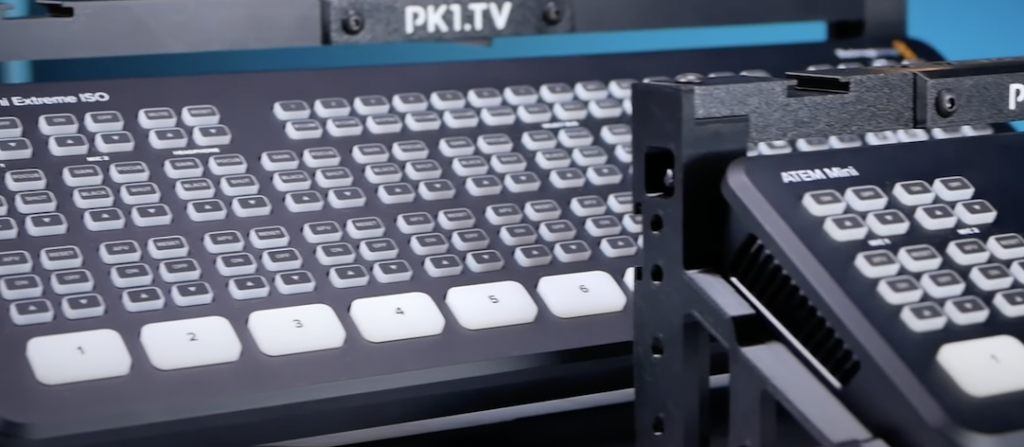
- The ATEM Mini has a lot of buttons, but honestly it has too many buttons and none of the right ones. Most of the buttons on the ATEM Mini, both the original and the Extreme, I just don’t use because they don’t control things I need to control.
- So you actually have to use a computer or an iPad in order to control all the features of the ATEM Mini.
Picture Quality
- YoloBox Pro :
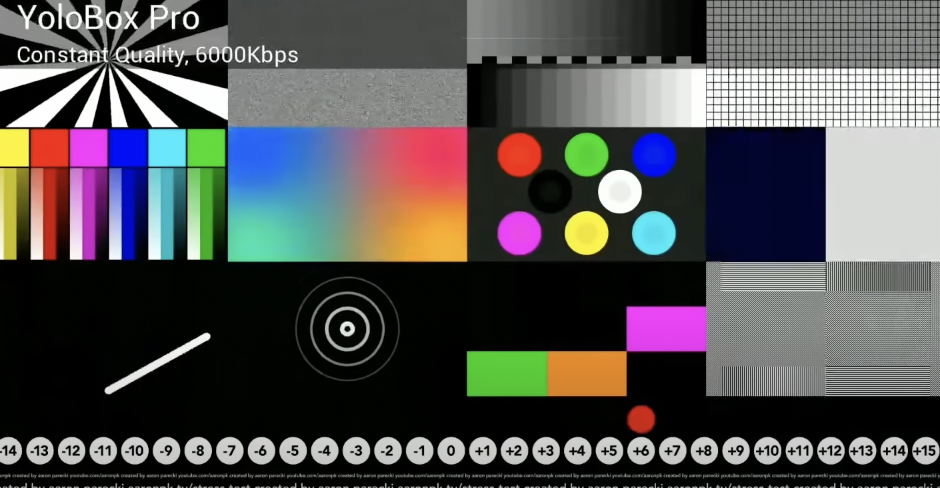
- So you can see these are supposed to be perfect circles with a darker circle inside, and it’s actually doing a decent job, except for maybe the blue one and the pink one look a little bit off. Up here, we’ve got blurry lines on the harsh edges because we’re pushing too much through this clip and this ticker at the bottom is supposed to show us frame drops. And if you notice you will see it’s skipping over some of the frames occasionally.
- ATEM Mini:
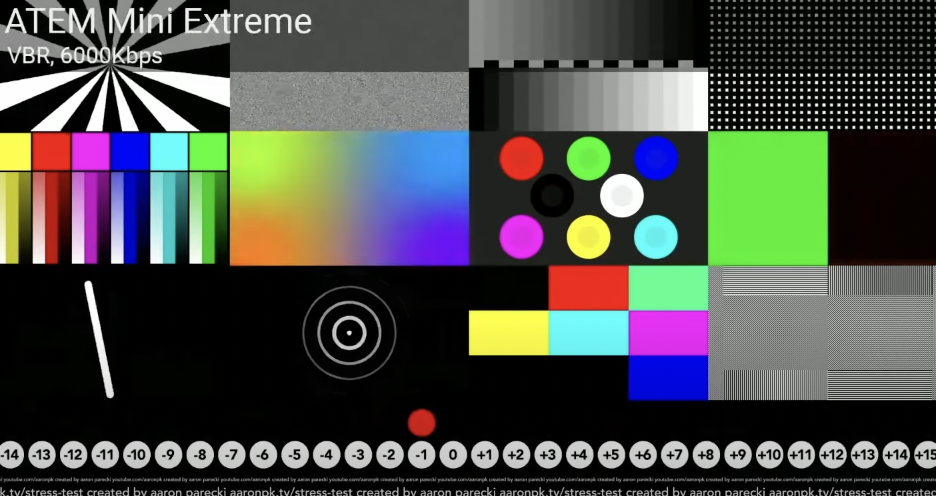
- The first big difference is that it is not skipping any frames. Now if you are seeing frame skips, it’s likely because the computer that I’m playing it on and going through the encoder is doing some weird frame interpolation stuff because it’s not totally lined up, but it is not skipping any frames. It is one hundred percent. It is very solid. Also, the color range here looks fantastic. These lines are decently sharp, and I’m seeing every inner circle on these.
Chroma Key Comparison
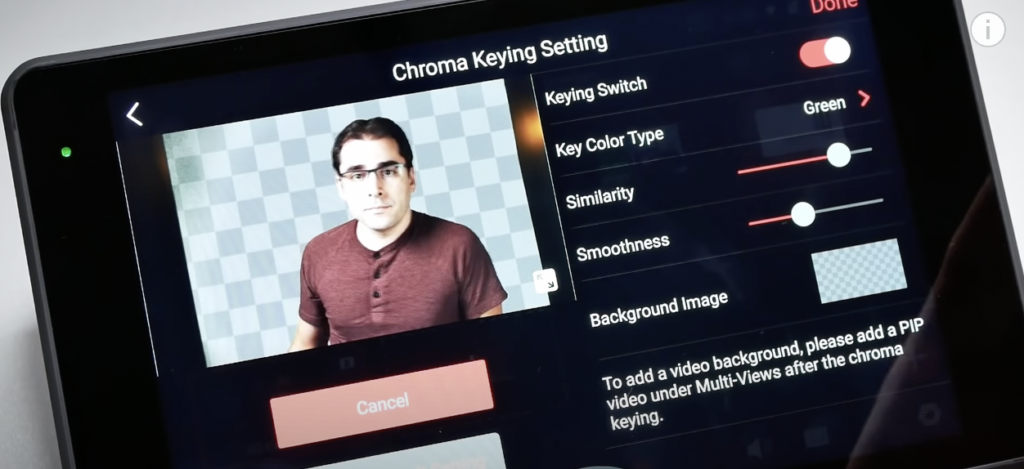
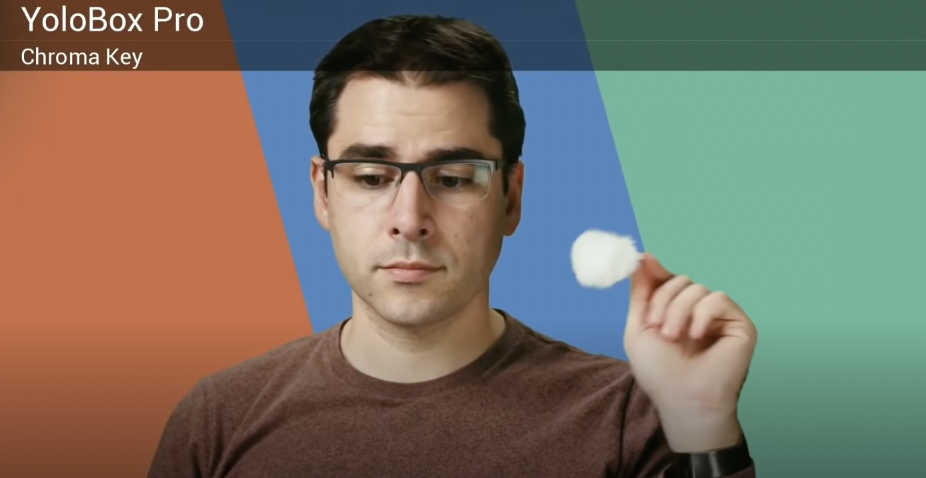
- YoloBox: was so simple to set up the green screen it basically worked on the first try with no fiddling.If you notice it’s doing a very good job, I see barely any green spill, just a tiny bit on my shoulder here, and it’s doing a very good job with the sort of fuzzy edges of these things.
- ATEM Mini: the ATEM Mini chroma key looks like, it is also actually very good and it’s getting the same spill here. And it’s also dealing with the motion blur and the fine details pretty well.
- The biggest effect you’re going to have on whether you get a good green screen on any device is lighting it properly. Both devices are very well.
Audio Capability
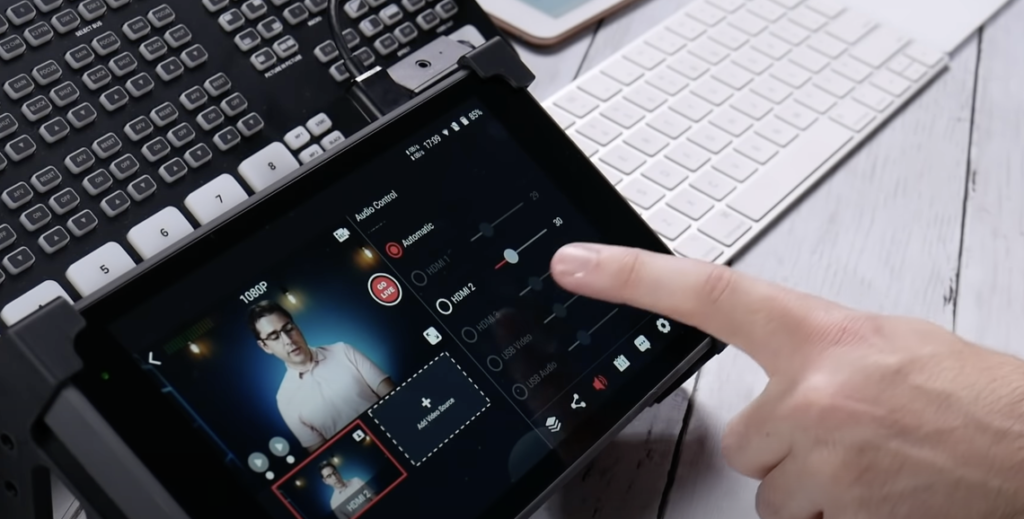
- YoloBox Pro: has limited audio controls right now. The only options you get in the audio are the audio can either automatically switch to the active camera or you can manually set it to one of the inputs.
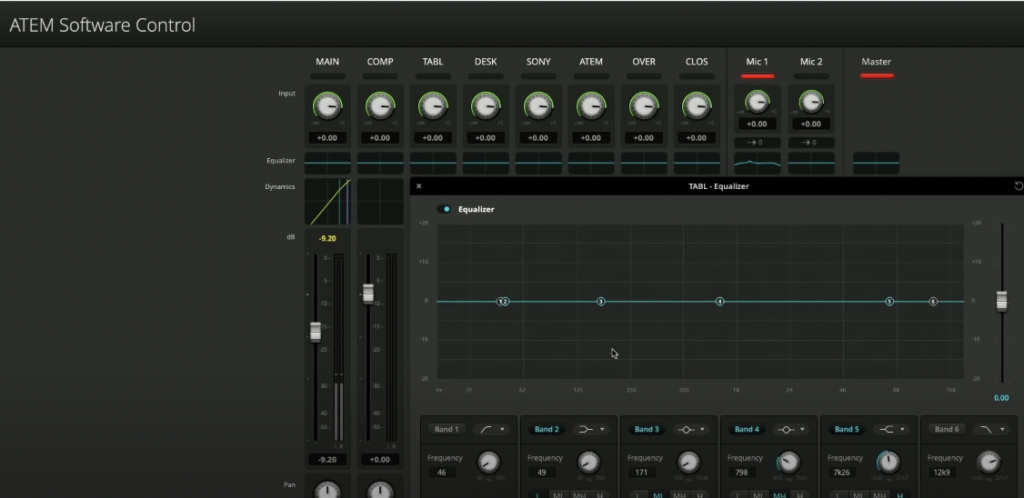
- ATEM Mini: has a full audio mixer in the device and you can even add effects like a expander and a compressor, and you can adjust the EQ. And this gives you a lot of possibilities for tweaking your audio within the ATEM without using a separate audio mixer.
Firmware Updates
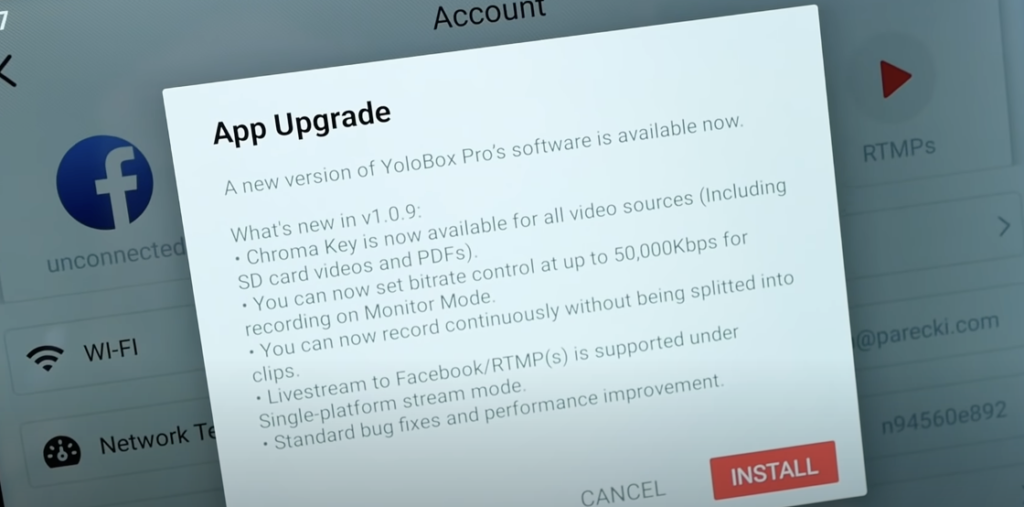
- Both companies have been doing a very good job of releasing firmware updates to both add features and fix bugs. But YoloBox has been doing this a lot faster than Blackmagic.
- The Blackmagic updates: have come out about every three to six months, and they’ve been relatively minor incremental updates.
- YoloLiv: has been doing a very good job of adding more and more features, like the bitrate selector, the new monitor mode, and the chroma key feature. And they’ve released most of the features on both the YoloBox Pro and the original YoloBox.
Summary
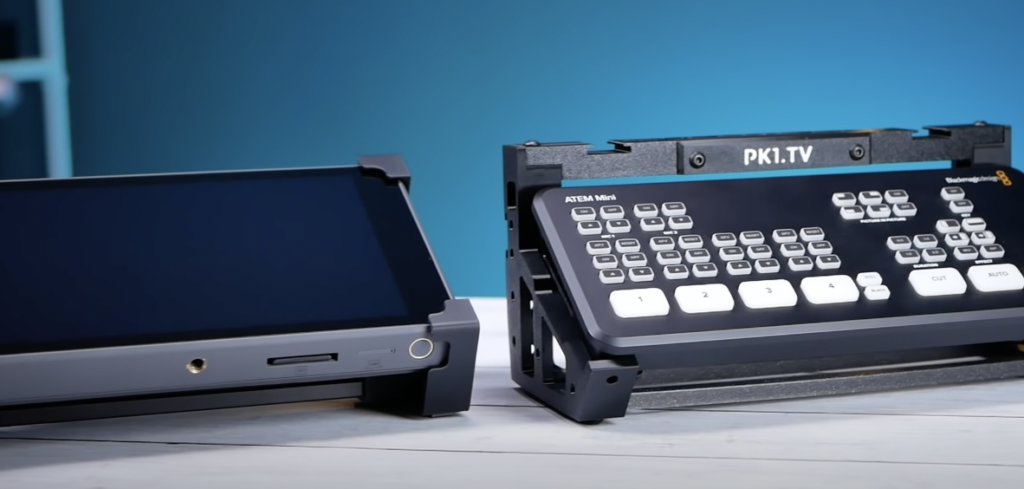
- The YoloBox method is really an all in one device. It wants you to do everything on this device. Use it as the controller, use it as the encoder, plug in your video sources. You don’t need anything else.
- The ATEM Mini on the other hand, you’re going to need to add more things, but that also gives you more flexibility to either upgrade small components in the future or control it, with more different kinds of things and build bigger workflows out of it.
- So don’t feel like there’s a correct decision because it’s a very personal decision about which is the way you prefer to work.
25,911 total views, 15 views today

Hanru is a marketing specialist at YoloLiv. She manages all the social media accounts, blog posts about the AV industry, and all the videos including product tutorials about YoloBox and YoloBox Pro.

